Decorate a Christmas Tree- Sticky Wall Activity for Kids
We love sticky wall activities around here! We already have a few on the blog and plan to add more in the coming months. They are a great way to set up an activity without a ton of mess. Plus, they are easy to make seasonal without buying new supplies. Check out the previous blog posts for inspiration for the rest of the year!
If you are looking for a Christmas or December themed sticky wall activity, you are in the right place! Let’s check it out.
We are using the green masking tape from the pack I used for a few of our fall activities, see them here and here.
Here’s What You Need
Scrapbook paper or any scrap paper you have around the house- you could even use wrapping paper remnants for this. I have a ton of extra paper from years ago, so I used what I had on hand.
Hole punch- optional
Cookie cutter/stencil for the star. We use the linked cookie cutter set for activities all the time!
Pencil
Paper cutter- optional, but I’ve had mine for years and use it way more than I ever thought I would
Set up
5-10 minutes
Cut the Con-Tact paper to size and tape up to the wall, sticky side out. I like to make sure I can fit 3 kids working side by side comfortable, so measure according to what works best for your family.
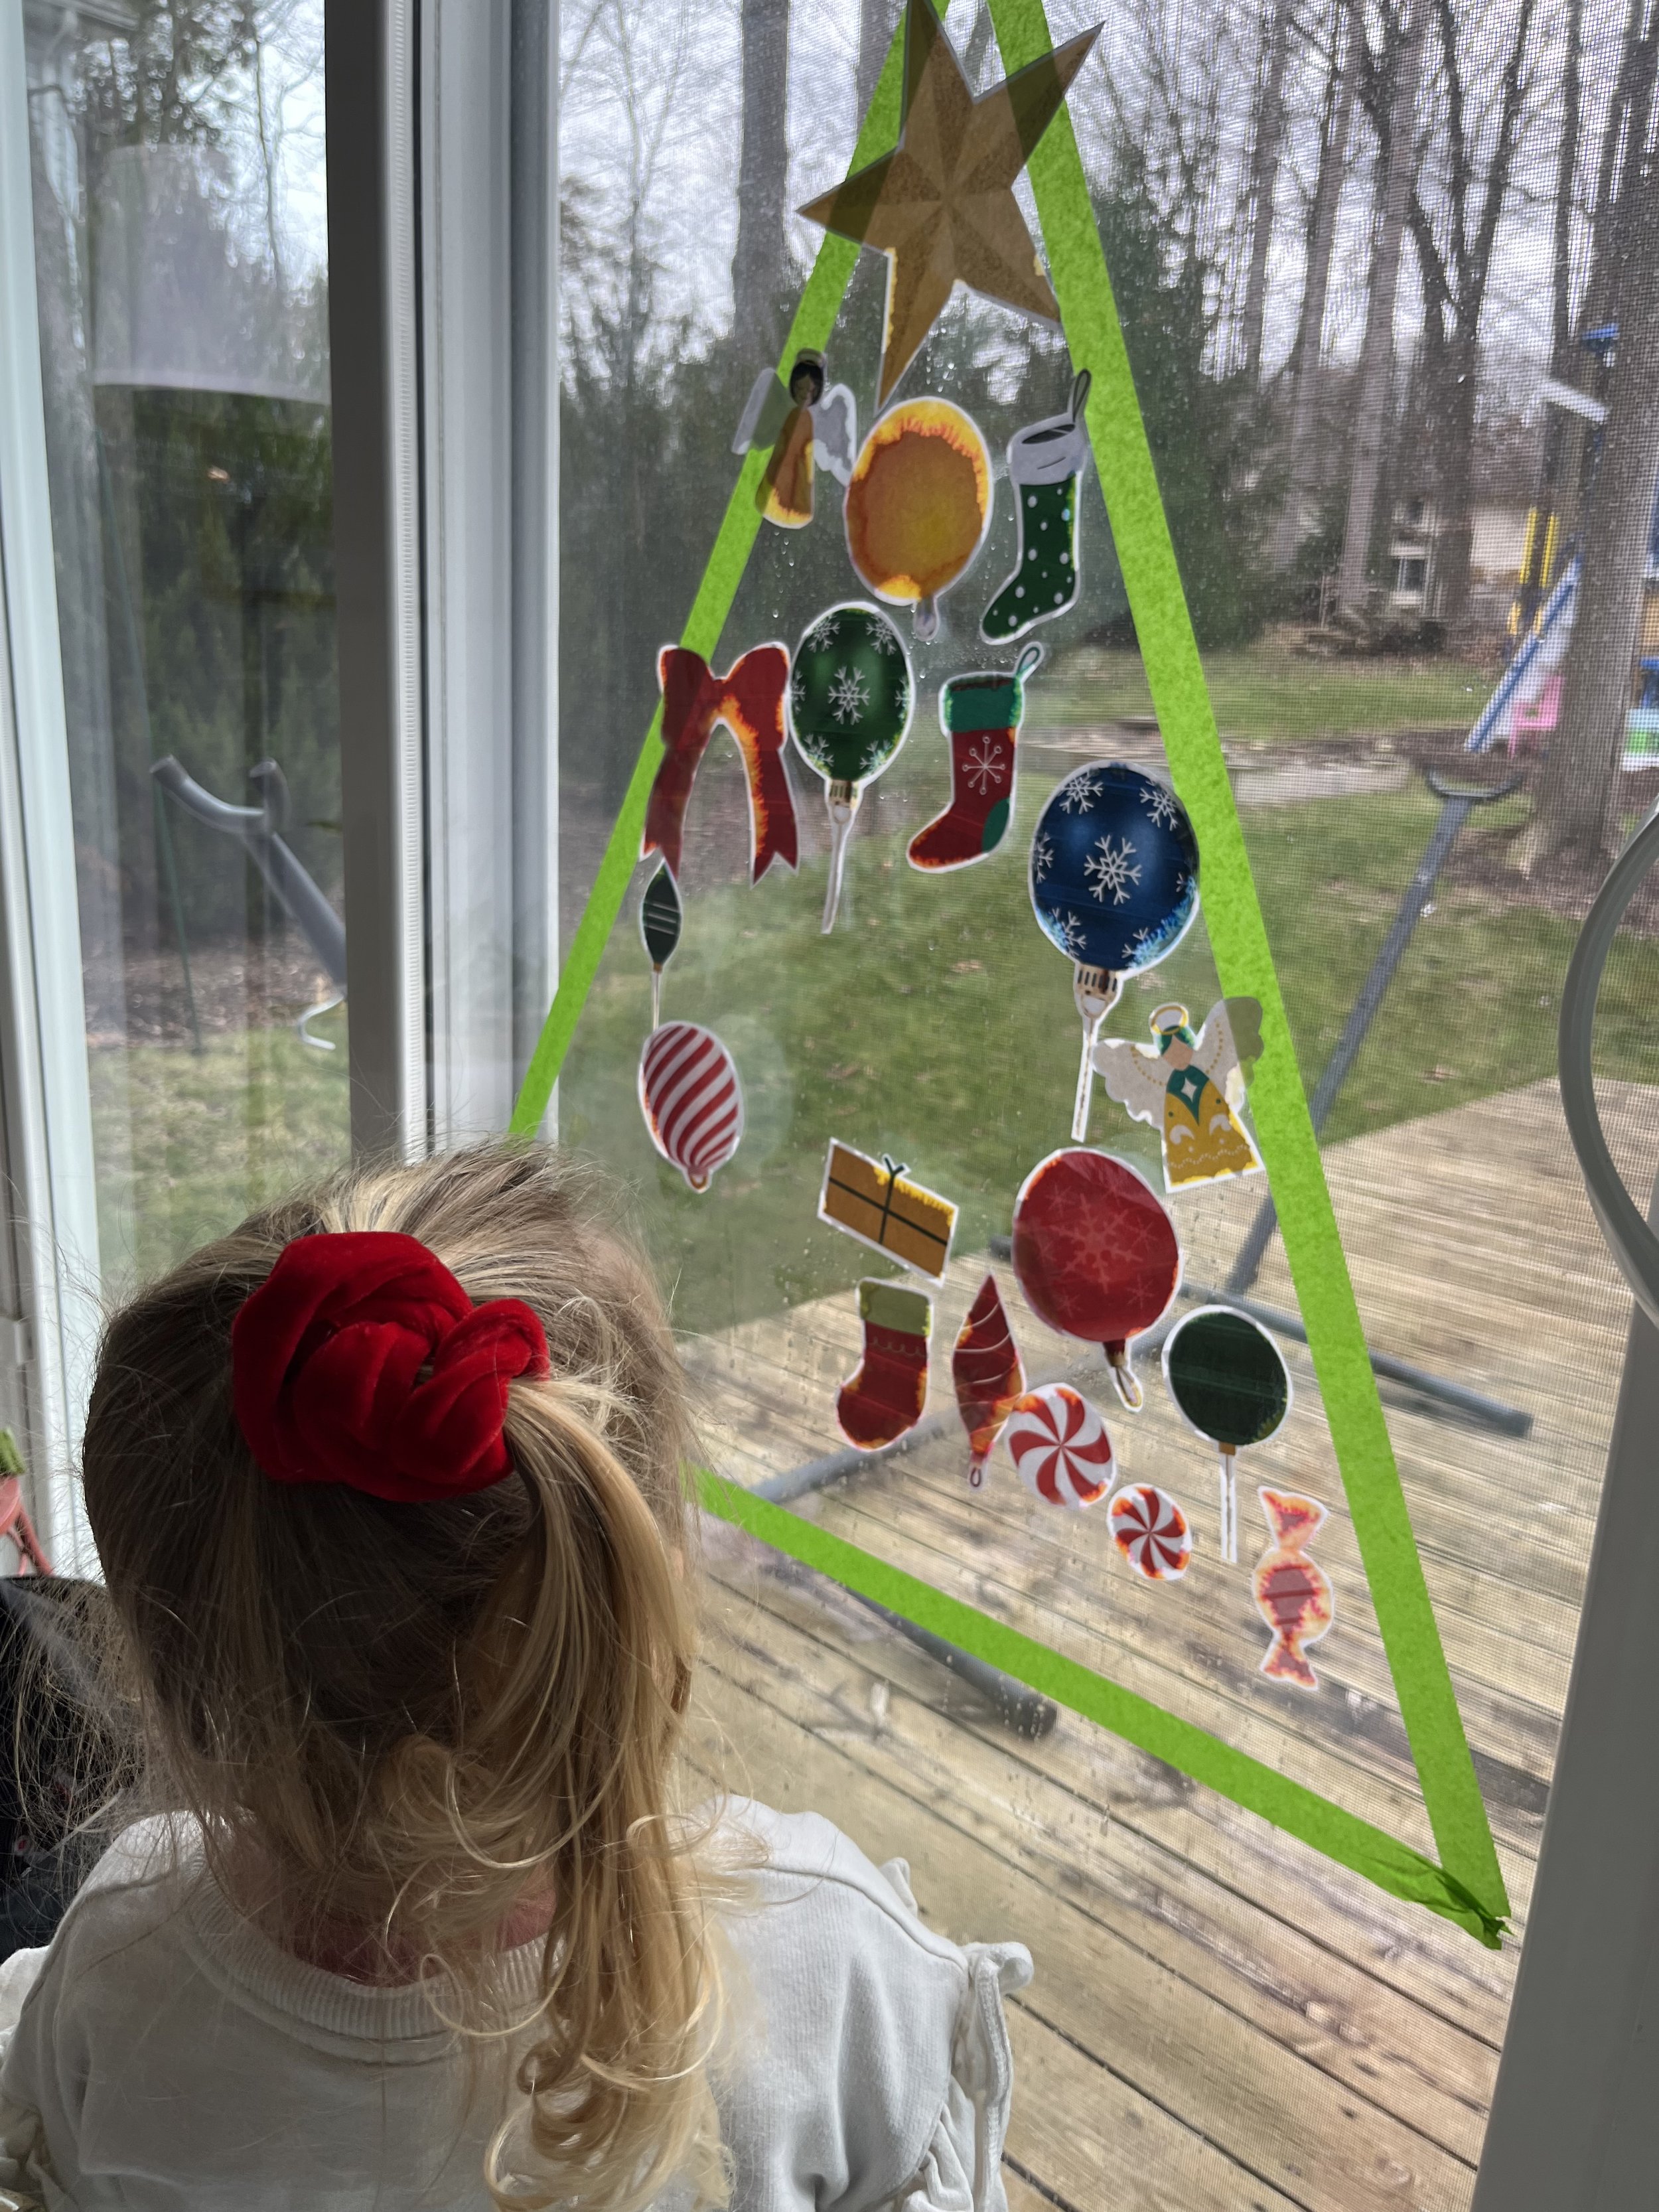
Make your trees by using green tape to form triangles on the sticky side of the Con-Tact paper.
Prep your decorations. I did this while the kids were sleeping to have an activity ready to go while we took down fall decorations and brought Christmas decorations up from the basement. I also wanted to set up some of the more fragile items out of reach without eager hands helping, so this was a win for me! At a different time, I would have had the kids help prep the decoration pieces with me. All of the cutting and punching would have been great fine motor practice and hand strength building, but I had to prioritize peace and do this part myself.
Cut strips of colored paper
Hole punch circles from colored paper
Make trunks using brown paper
Make stars using yellow paper. I didn’t feel like printing out a perfect star as a template, so I used a cookie cutter that was easily accessible to trace. Either option works great.
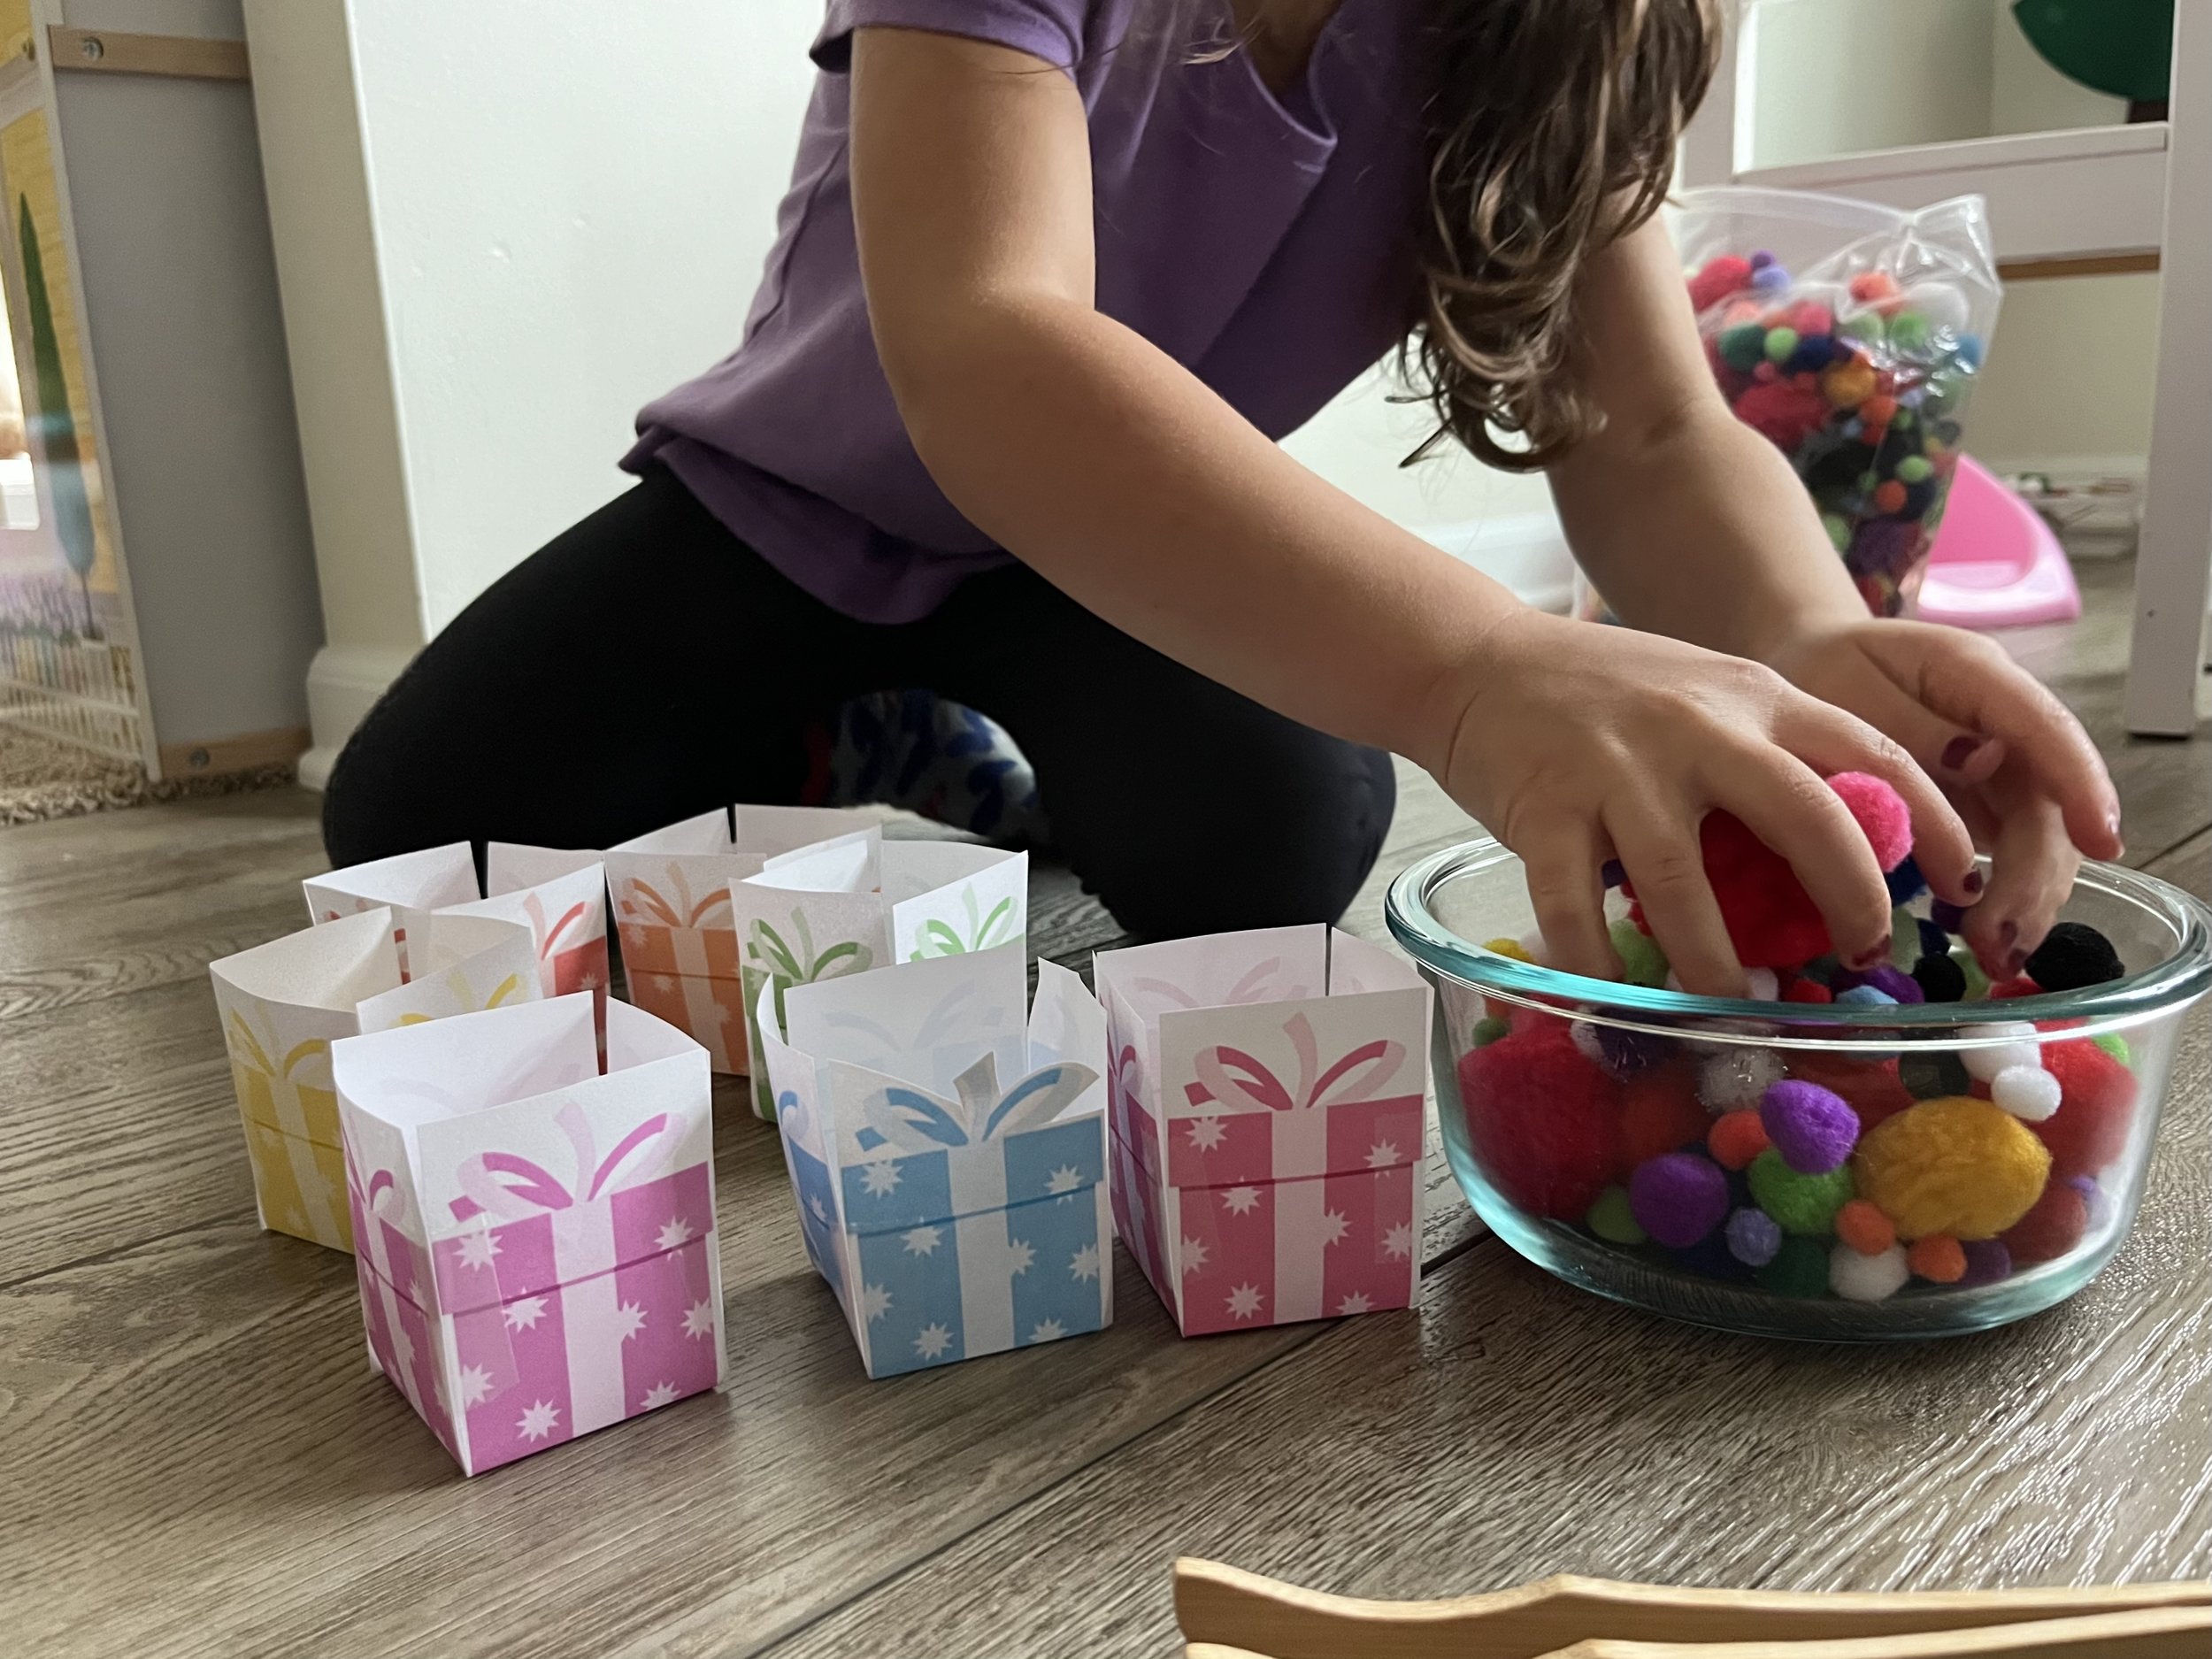
Pom poms require no assembly or prep other than pouring them out.
Set out the items and let the kids get to decorating. I used a divided veggie tray to organize the items and the kids LOVED it! I will definitely be doing this again when setting up an invitation to play.
Clean Up
1-5 minutes
Collect the decorations and place them back in the tray if you plan to leave this activity up for more than one day. I plan to leave our tray out for about a week- the lid on ours is key here so the pieces don’t end up all over the floor at every waking moment.
Store pom poms for later use.
When you are finally done with the sticky wall, throw it away.
This is another wonderful activity to set up for more than one child! Throw on some music and let them decorate again and again!
So far, this sticky wall has been used by at least one child every day since we set it up. I do find it helps them come back to it again and again when I take the decorations down at night so they can start with a blank slate/tree the next day.
This Christmas tree decorating activity is sure to put your family in the holiday spirit! Give it a try and drop a comment below when you do. And don’t forget that I love when you tag me on social media or send me a message when you set up one of our activities - it truly warms my heart!


Grab this free download for an easy Christmas activity that is low on mess and big on fun!