

Cotton Ball Rainbow Activity with DIY Liquid Watercolors
Our first flowers have opened, and spring is here! It’s been rainy and cold the last several days, but temps are warming up and we are getting outside as much as possible. One of our favorite parts of spring and summer rainy days is the opportunity to search for a rainbow. If your kids are into rainbows as much as mine, this activity is perfect for them!

I don’t know if all kids love rainbows as much as mine do, but we are all about the different colors and have frequent conversations about what makes a rainbow.
Here’s What You Need
Cotton balls- I split mine up into thirds or quarters, but the kids wanted theirs to stay whole.
Paper- we used plain computer paper to be economical, but it wasn’t sturdy enough to save this project.
Pipettes/droppers- I prefer the reusable ones for this activity since the DIY watercolor washes off so well.
Water
Glue
Pen if you want to draw the rainbow for the kids.
Bowls to hold watercolor. I love using our baby food silicone mold for these types of activities and we actually use it way more now than we ever did when the kids were babies.
I always like to line the table with a trash bag, but you could also do this activity outside or on the lid of a sensory bin/box.

Set up
2 minutes
Set out the cotton balls, glue, and paper. Draw a rainbow if you would like and label ROY G. BIV if desired. My kids are very into the rainbow accuracy, but we always just make purple instead of indigo and violet because my food coloring game is not THAT strong.
Make your DIY liquid watercolors by mixing water and food coloring. Fancy, huh?
Glue cotton balls to form the rainbow shape and add drops of color. Let dry and admire the creativity and work your kids put into this activity.

Clean Up
3 minutes
Dump out any extra watercolor and wash any bowls or pipettes.
Our papers sat out overnight because the kids really wanted to display their creations, but they were sopping wet and had to stay flat. They went in the trash the next morning.

All pipette activities are a great opportunity for fine motor control and finger/hand strength. You can also add in whatever other skill your child needs a little extra practice with. We sneak speech and articulation in for Vaila for most activities and frustration tolerance and vocalizing needs for Brinley. Ellette still has to be very carefully supervised with food coloring in the house, so I usually can’t take pictures and let her participate. She was napping during this activity, but we are working on matching, sorting, vocabulary/new words, and a whole host of other things like cause and effect, fine motor skills, etc.
I find it helpful to meet my kids where they are and practice some of these harder things in a non-threatening way. So far, they both have been receptive to stepping out of their comfort zones while engaged in another activity. I’m going to keep using this trick as long as it is working.

Back to the activity, I let the kids do as much on their own as possible. They are in charge of adding food coloring, adding their own glue and cotton balls, and wiping up their own messes during the activity. I usually do the heavy lifting of the cleanup at the end, but I do ask and expect them to tidy up after themselves if they spill during the work. It is rarely perfect, but we are trying to raise considerate and respectful people. Cleaning up a spill is a small step in the right direction.
Brinley wanted me to draw the rainbow outline for her, but as you can see below, Vaila was feeling the free style approach. Even though this project was more structured than a lot of the process art we do, I still explain and then step back as much as possible to let the kids create on their own. Technically there is a correct way to make a rainbow, but I have no problem letting the kids take creative liberties. They are learning and I love to see their creativity shine.


One note about the cotton balls: I much prefer to rip them in half or thirds before gluing them down. The whole cotton ball was way too absorbent and took on a lot of water, which then seeped all over the paper. The version I made afterward with half cotton balls was easier to make, took a shorter time to make colorful, and dried faster. I’m pro half cotton ball from now on.


Vaila insisted that her “people” wanted to watch this activity, so they sat right next to here and I could not convince her to move them for any of the pictures. No figurines or people necessary for making rainbows!
The kids loved this activity and I bet yours will too! You can create beautiful rainbows with only a handful of basic supplies, plus your children will get tons of fine motor control practice. My kids also find using droppers to be very calming. I don’t know if it is the water, the repetitive nature of the droppers, or watching the cotton balls take on color, but whatever the cause I think it is a fantastic way to spend a rainy afternoon.
If you get a chance to try this, tag me on social media and be sure to follow along if you aren’t already. I post meal inspiration every Monday and kid activities the other days. My goal is to give you ideas that are helpful to your family, so if you want to see something particular on the blog, please let me know.
Enjoy the rainbows!

Looking for other activities? Check these out:


Other Recent Posts…


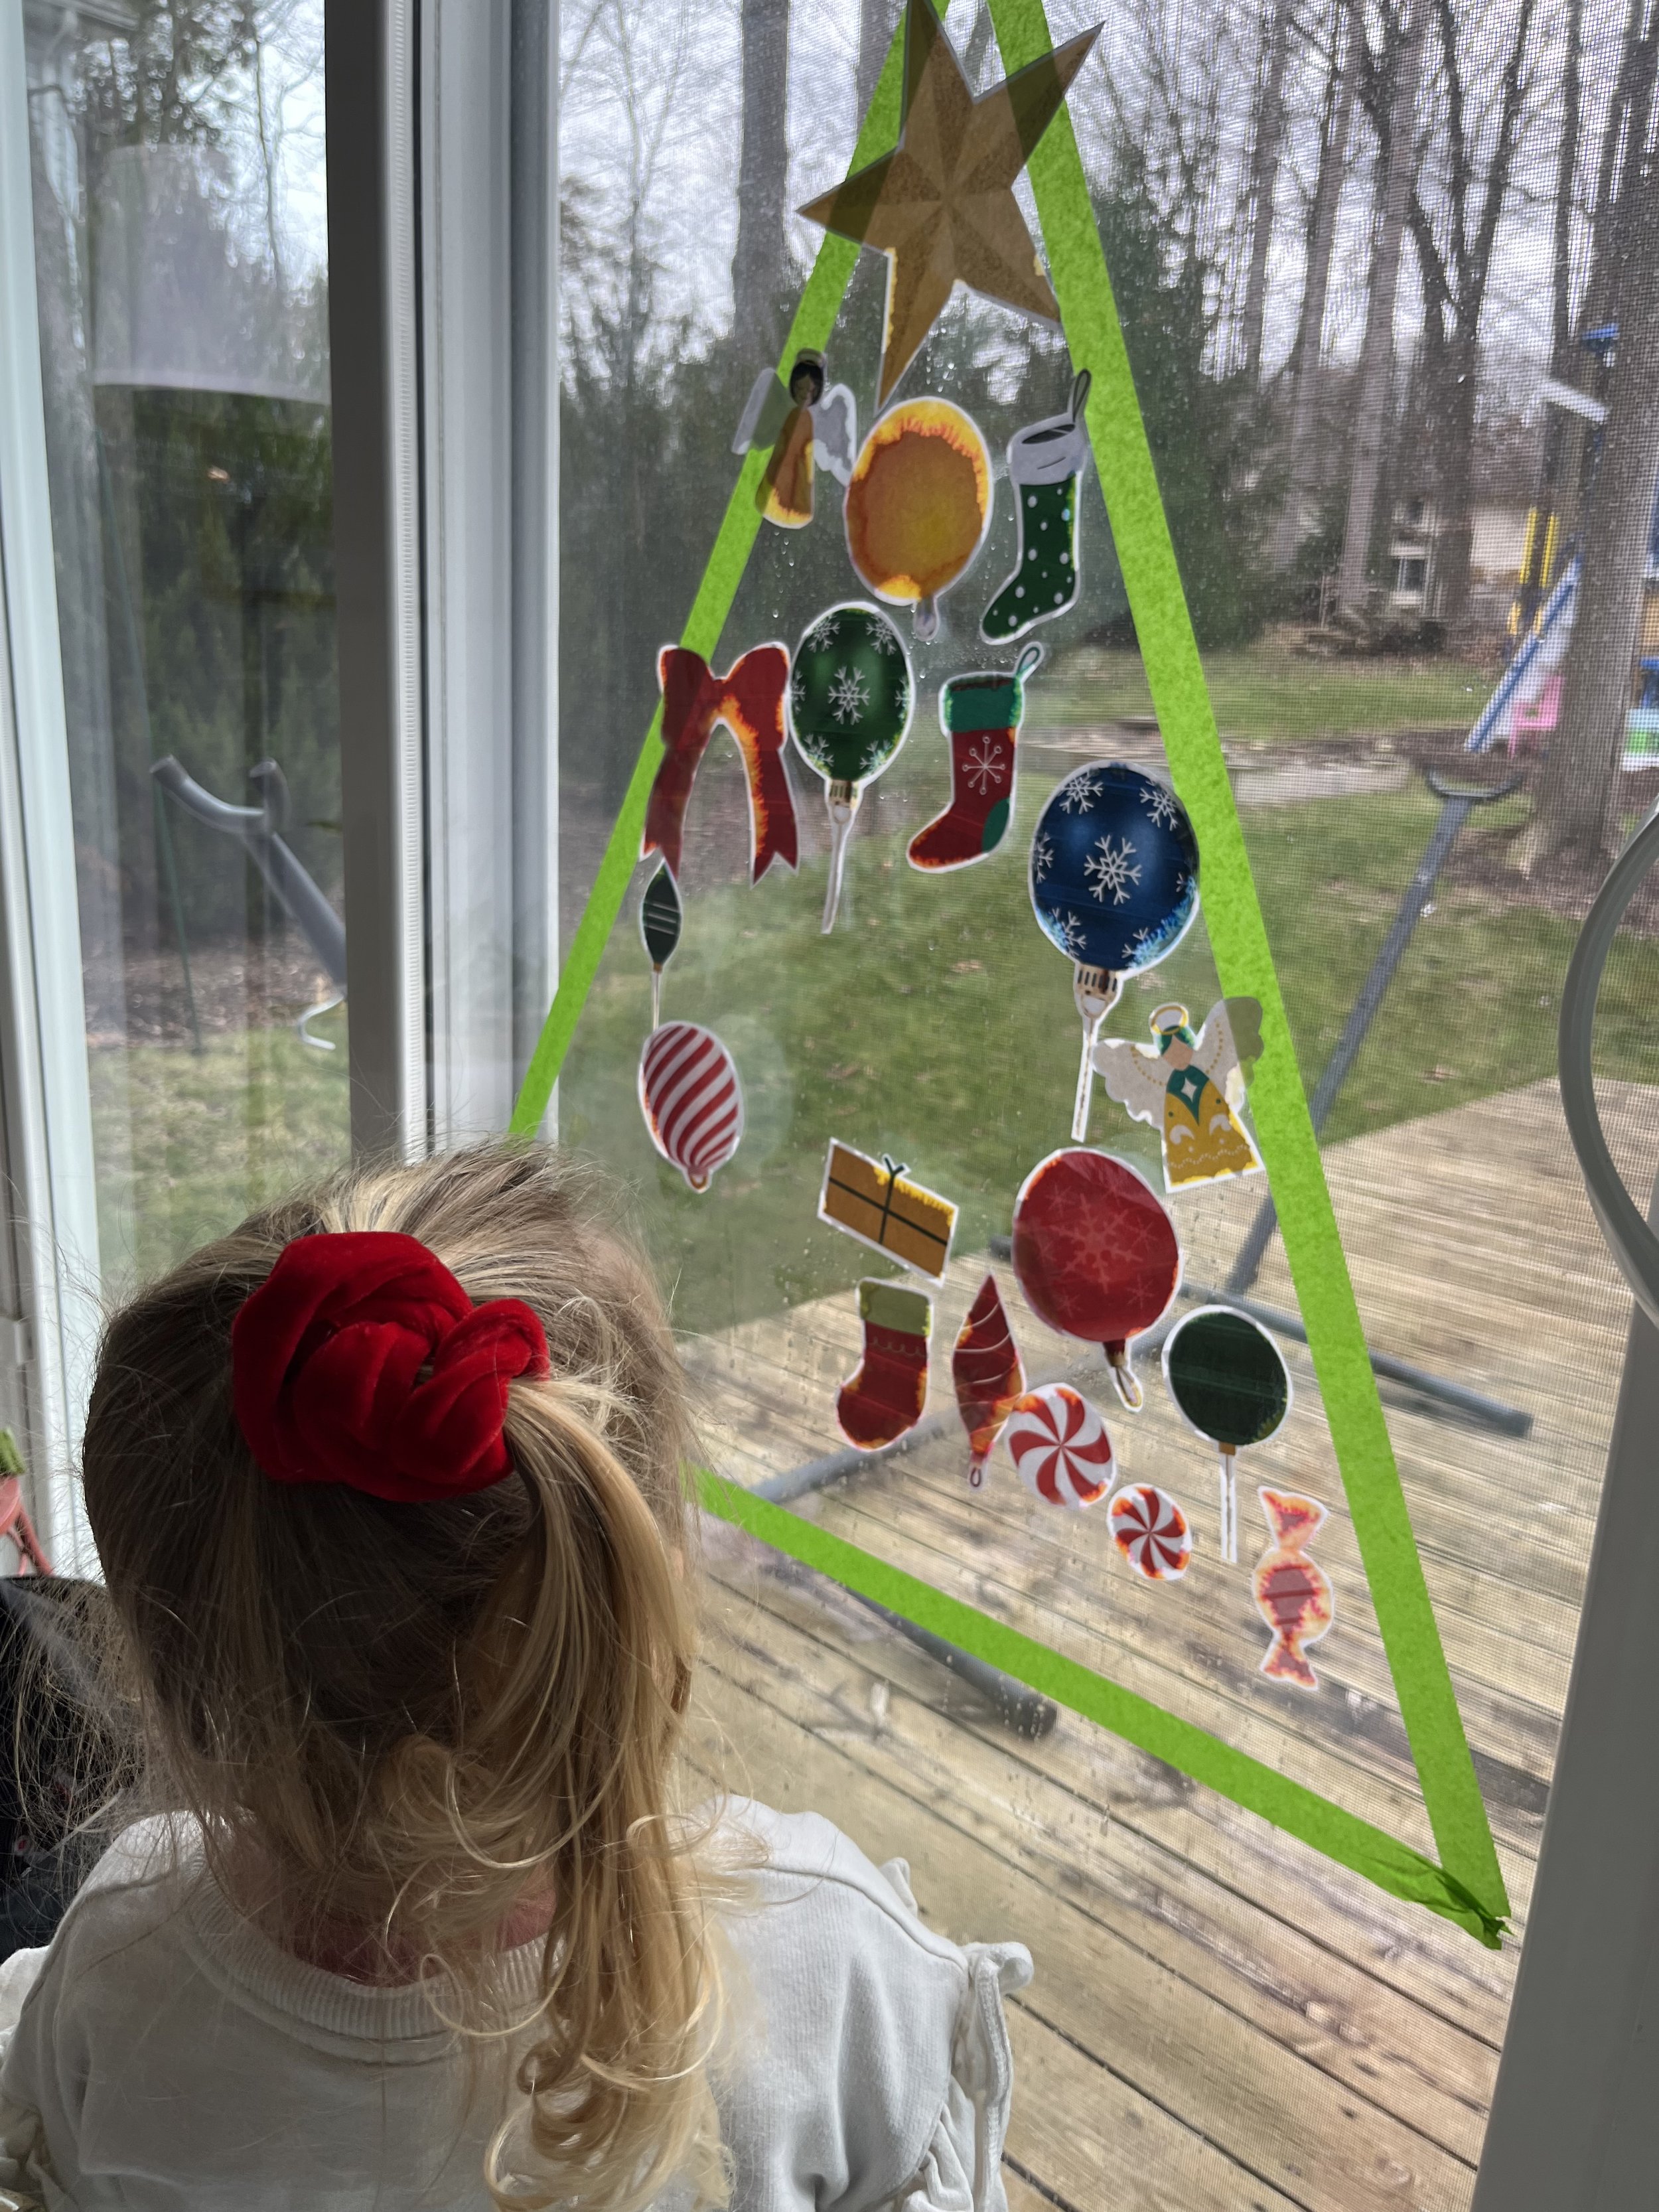


Grab this free download for an easy Christmas activity that is low on mess and big on fun!