

6 Kid Friendly Ways to Dye Easter Eggs
Easter is coming up and I wanted to share our favorite ways to color eggs for anyone needing a last minute tutorial. Each method below has a different look and some produce more vibrant colors on the eggs while others are super engaging for the kids. Keep reading to see our favorites!
We used a mix of hardboiled eggs and empty eggshells we plan to fill with confetti. The empty ones are a little more delicate and we had a few get accidentally crushed. We also used some brown eggs because that is normally what we buy. I switched to white eggs specifically to have some to color for Easter, but a few of the colors worked on the darker eggs.
Final note before I get to the good stuff- my hands down favorite way to hardboil eggs is in my Instant Pot. I was so hesitent to get another kitchen appliance, but someone gifted one to me and it has changed my life! I do a lot of cooking (and double or triple cooking) for meals because of our food allergies, but even for just a normal, everyday meal it is wonderful.

Add whipped cream into a glass dish or metal pan with sides.
Add a few drops of food coloring.
Use a knife or spoon to slice or swirl, not stir. Stirring will mix your colors, but swirling will give you a marbled effect.
Add your eggs and gentle roll them into the colored whipped cream until they are completely covered.
Let them sit for at least 15 minutes before rinsing off. I find that closer to an hour gives me more vibrant colors.
Gently rinse off.


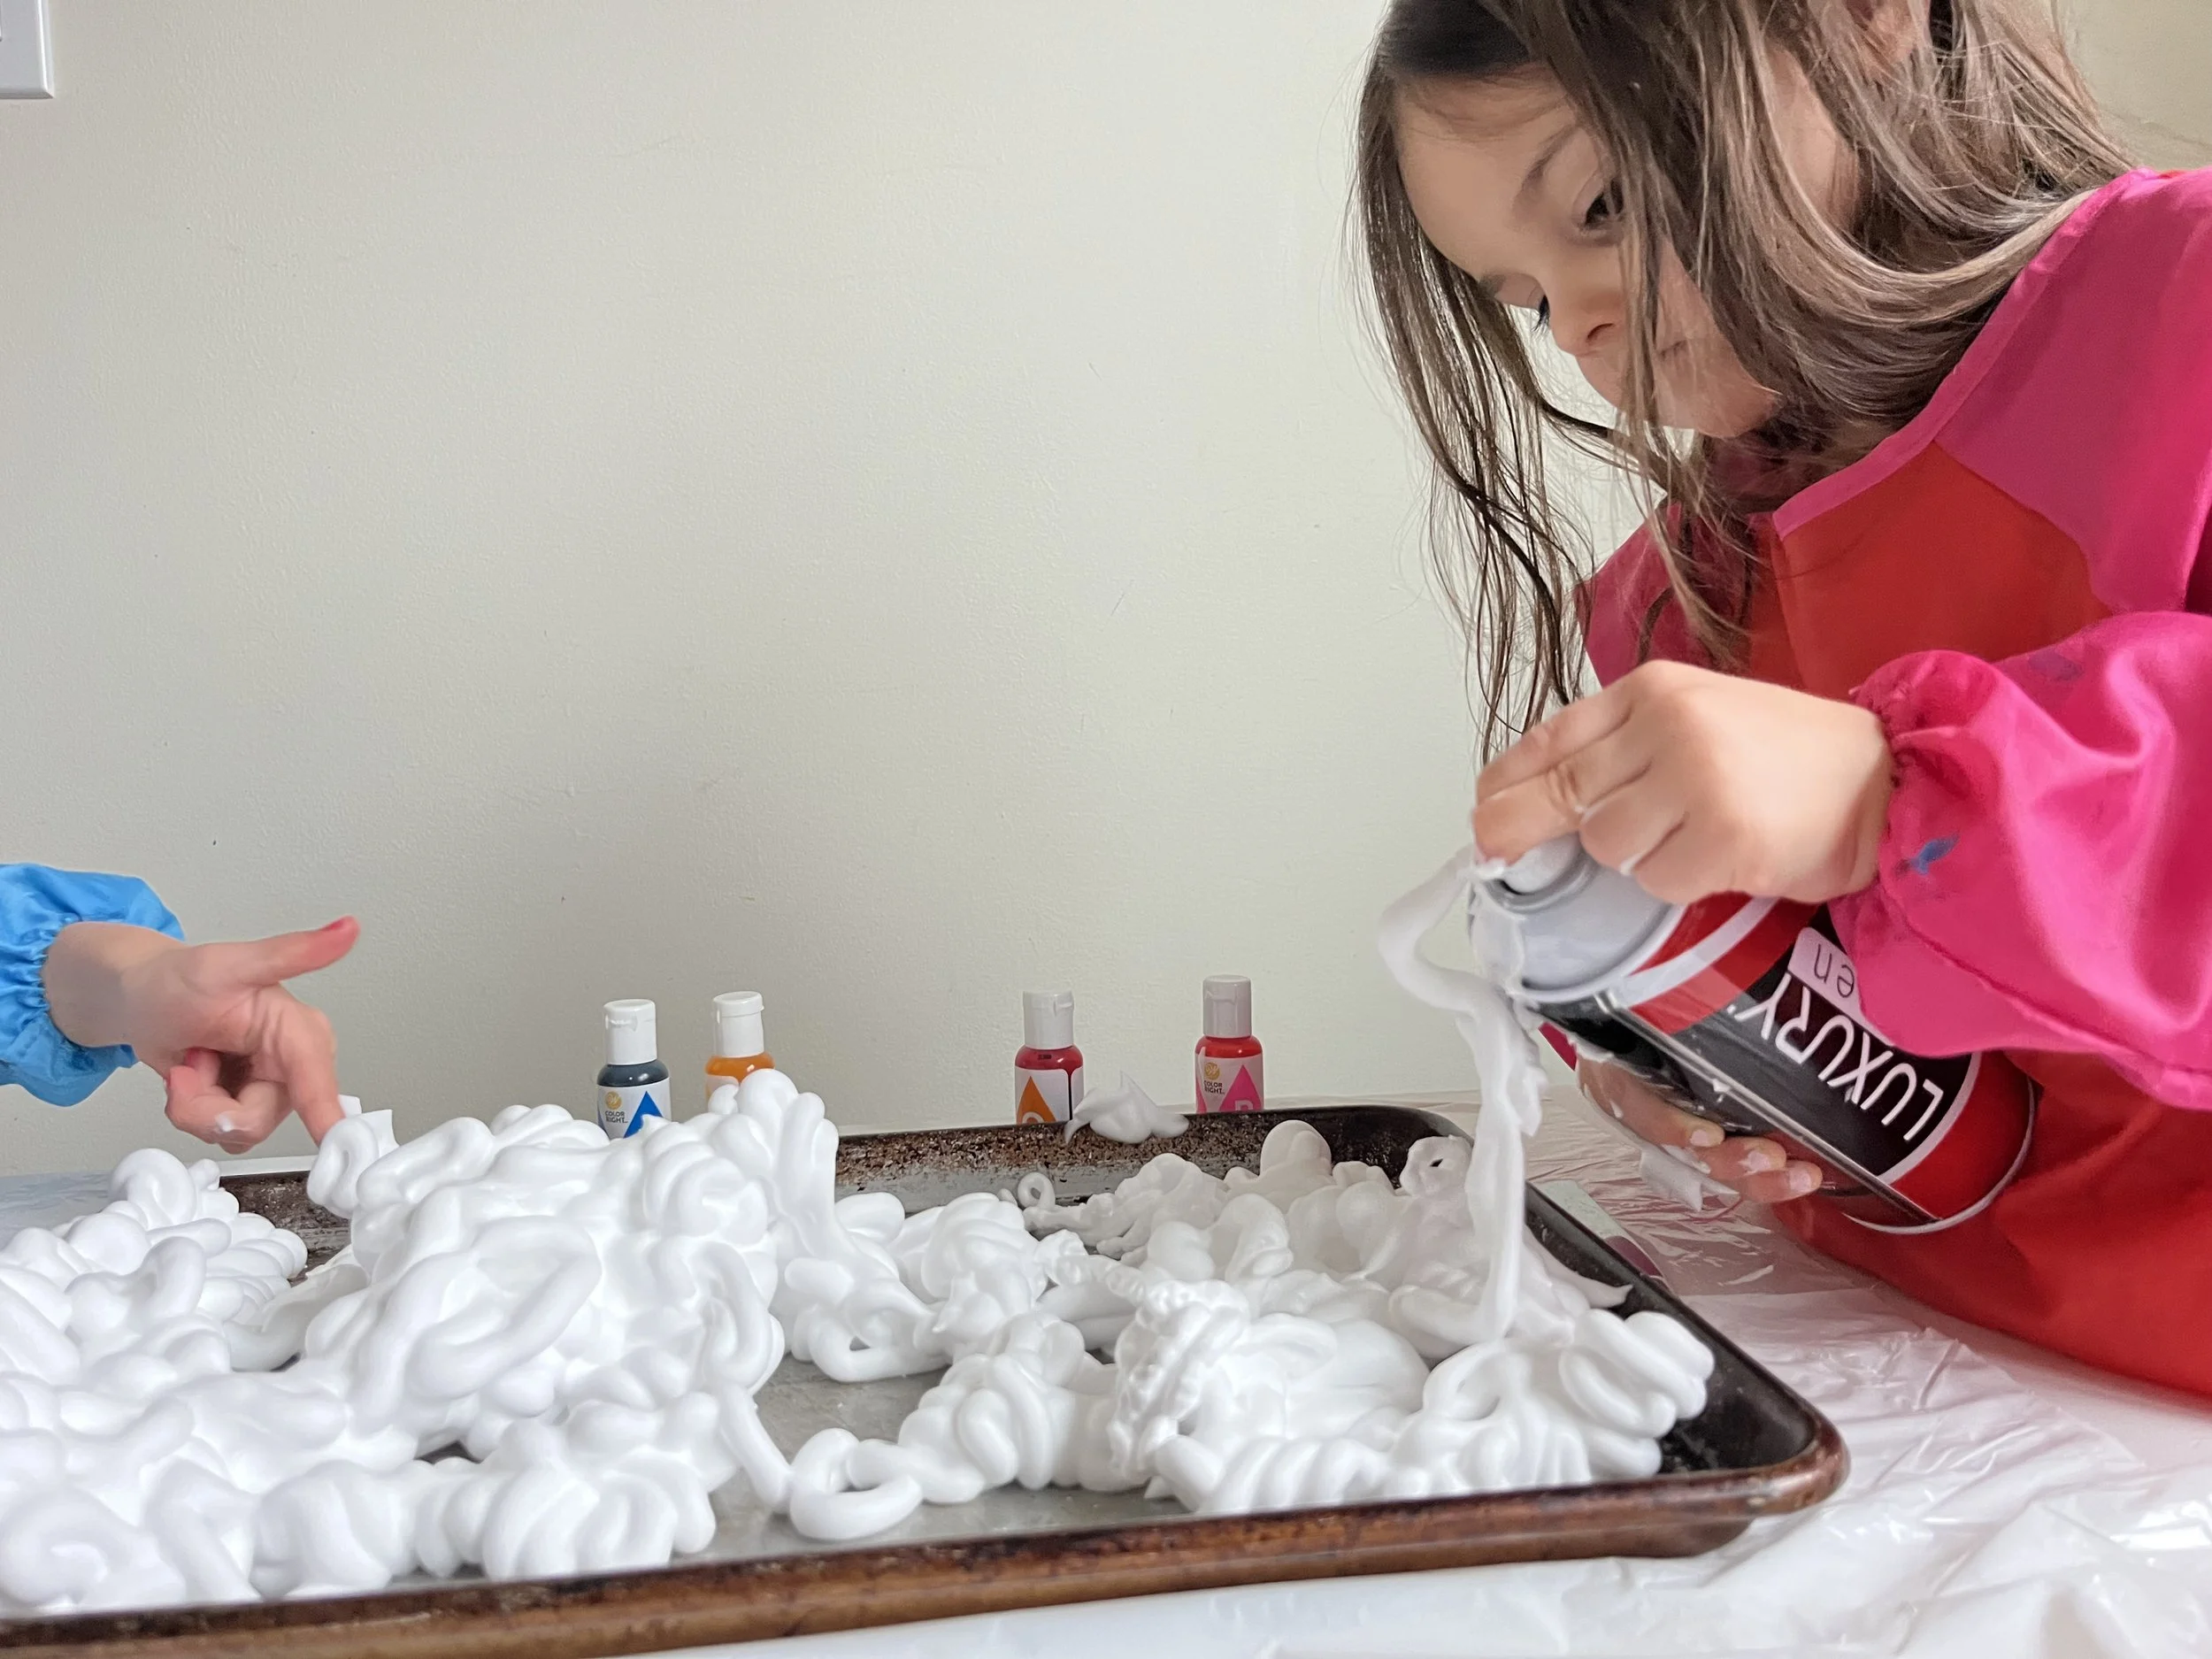
This method is the same as the whipped cream method above, just not taste safe. I only let our shaving cream eggs sit for about 15 minutes before rinsing them off, but I found the color was less vibrant than I anticipated. This will work in a pinch, but wasn’t my favorite method if you want bold colors. The kids loved playing with the shaving cream though, so this was in their top 2.
I also only used this method on hardboild eggs that didn’t have any cracks. I prefer using this method on the empty shells for extra assurance that I’m not feeding anyone shaving cream.


Bubble Method
Here’s What You Need
Water
Plastic straws
Scissors
Dish soap
Glass or glasses for multiple colors
Tongs or spoon if you don’t want dyed hands!
I also highly recommend using a garbage bag under your container in case of any overflow! We used our hands here and shaving cream got everywhere!
The brown eggs got almost no visible color from this method, but the bubbles created a spotty effect on the white eggs. This method was also in the top 2 for the kids.
Fill a glass with some dish soap. I let the kids measure with their hearts and we ended up with a lot of bubbles! I would say 1-2 solid squirts will be perfect.
Add food coloring and water, stir to combine.
Clip a hole in the bendy part of the plastic straw- see photo below if you’ve never done this. This allows the kids to blow out, but makes it much more difficult to suck back in. We don’t wany anyone drinking soap.
We tried to use rubber bands to hold the egg in place, but that just didn’t work for us. I would have used a slotted spoon, but the kids started using their hands to hold the egg and I thought everything was just fine. Spoiler alert: they both ended up with very green and blue hands!
Use your straw to make bubbles and catch them on the egg. You can add multiple layers and colors for more interest.
Once your egg has enough coverage, let it sit to dry.


Food Coloring and Vinegar Method
Here’s What You Need
Vinegar
Water
Spoon/slotted spoon. This is really where I messed up! I thought the kids had slightly messy hands, so a little more food coloring on them wouldn’t be a big deal. They were giving Avatar or Smurf vibes by the end of this!
Glass or bowl
Only one of our eggs made it out to dry before the color mixing started!
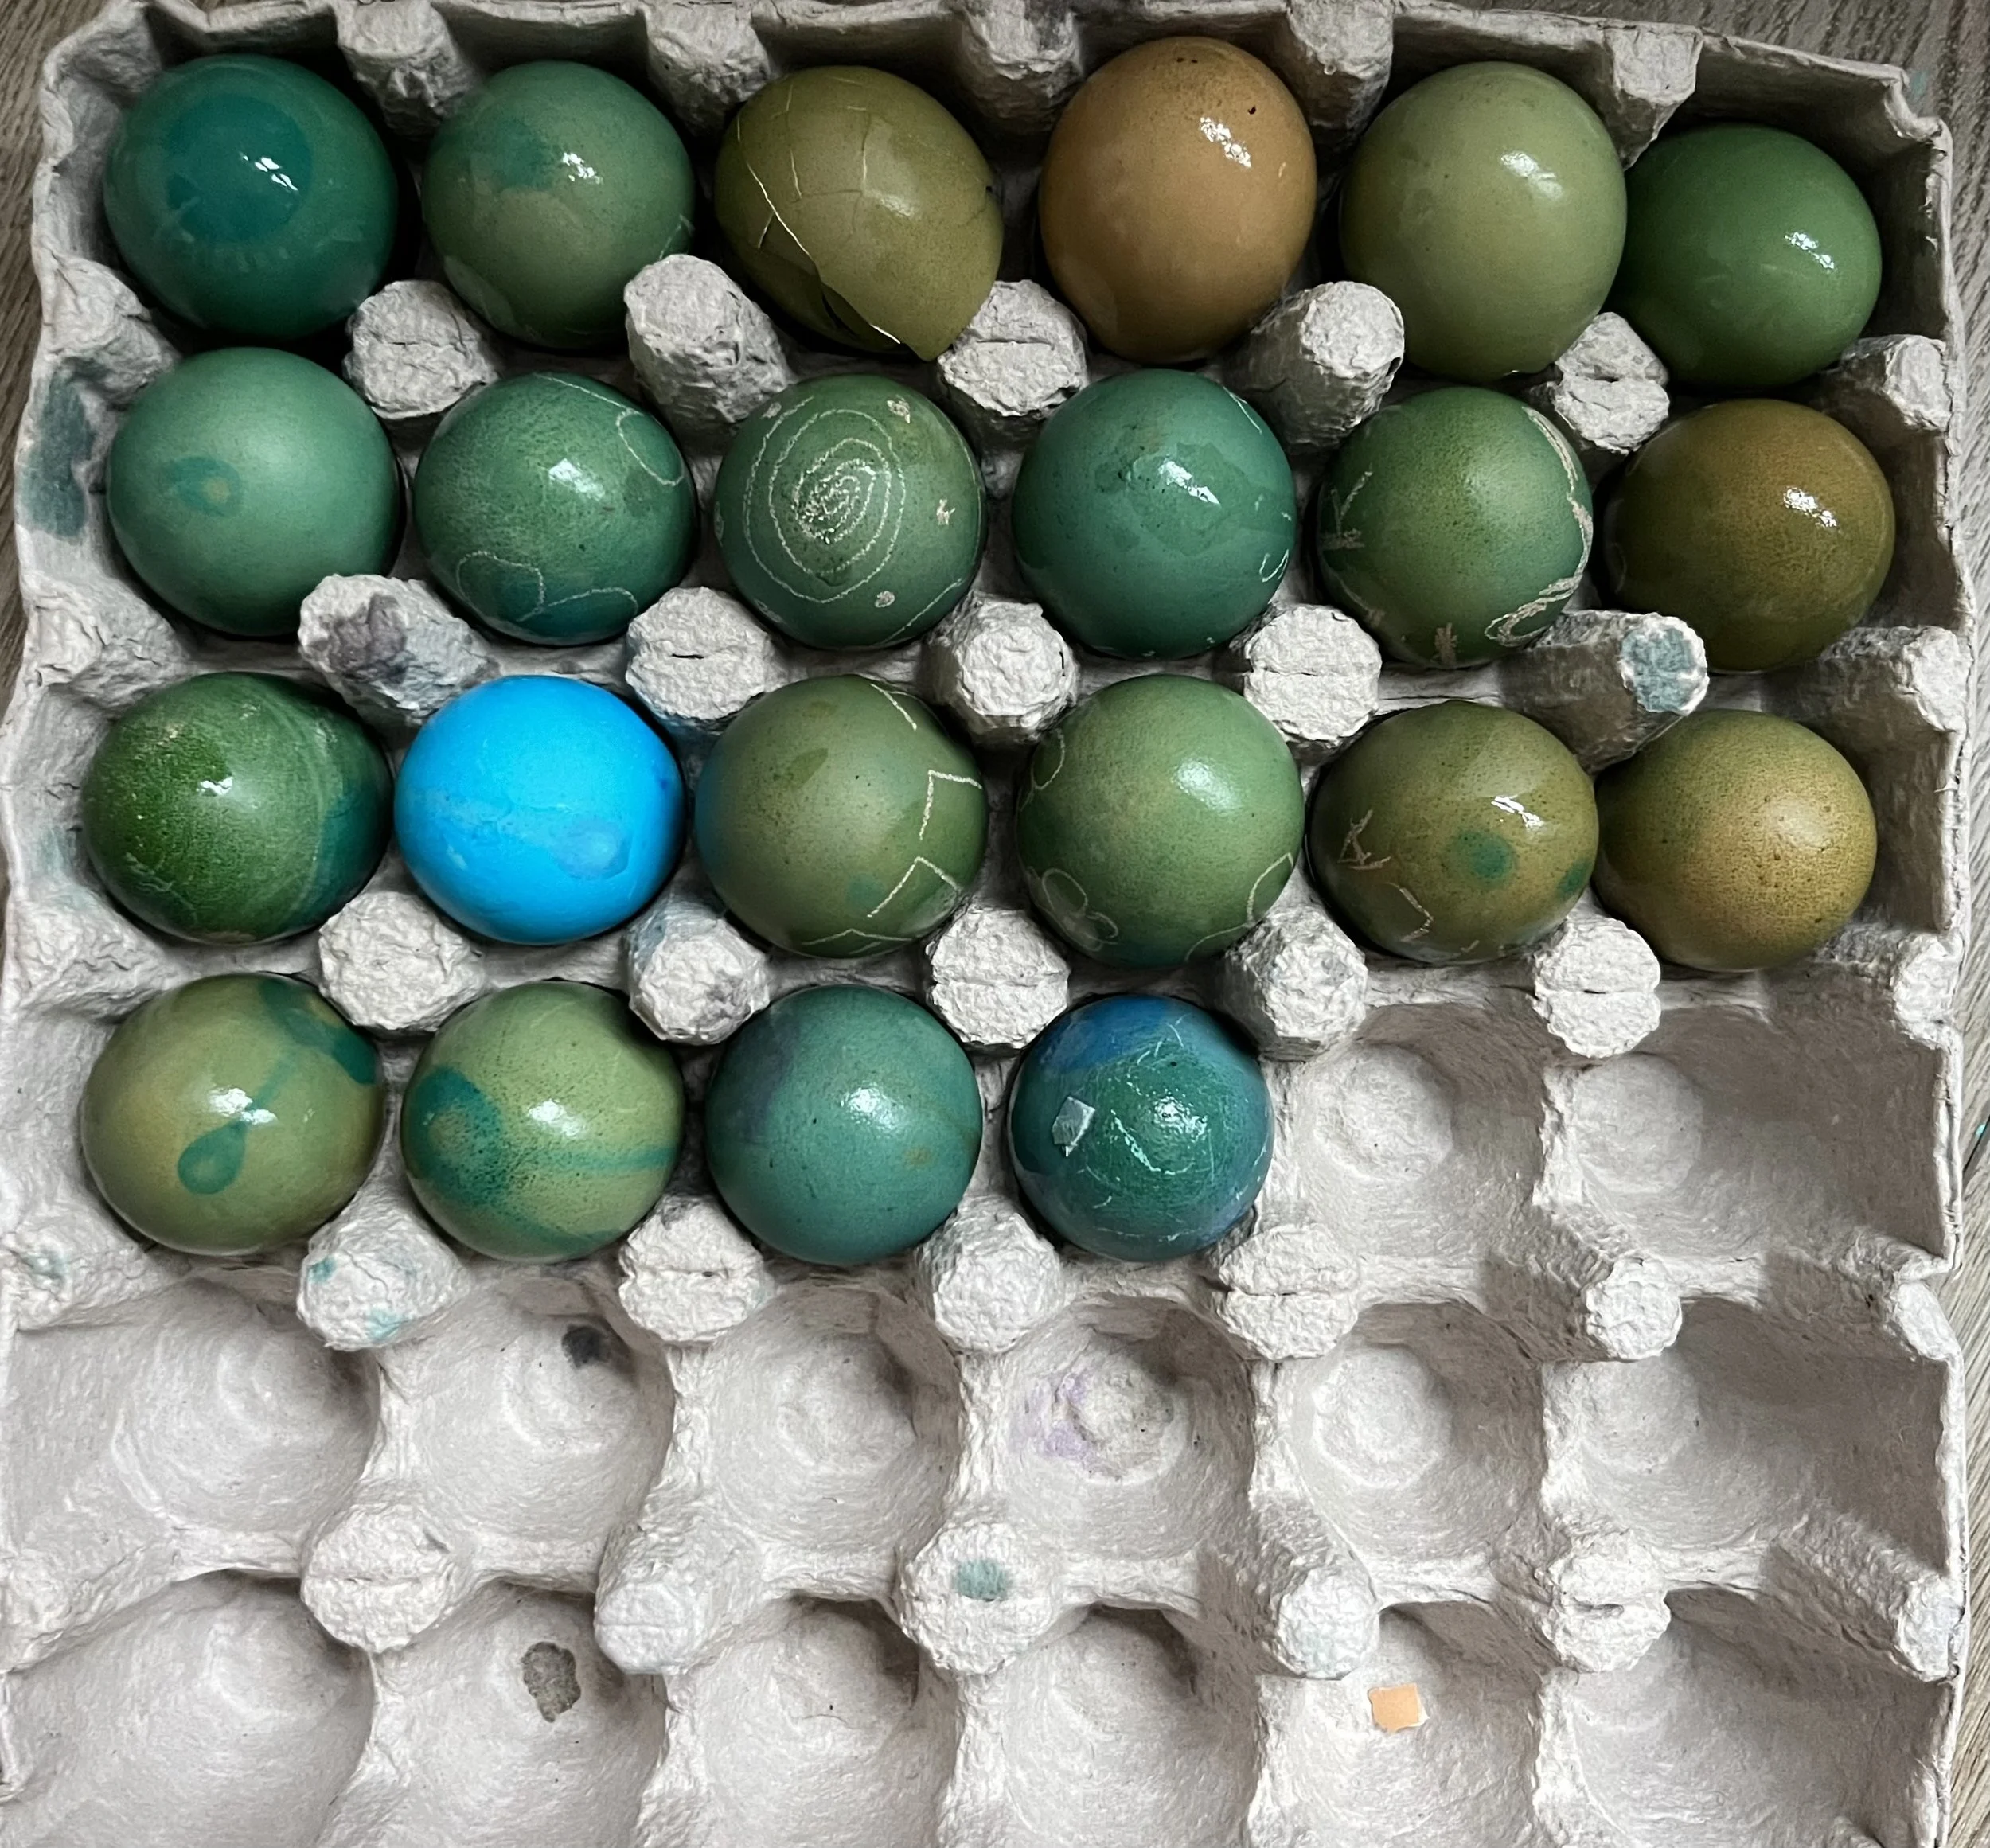
This method is a classic and I appreciated the vibrancy of the colors, but it was less fun for the kids at this age. I remember making very intricate designs and layering the colors or coloring the eggs half and half when I was younger, but I was probably 10+ years old by the time I got that fancy. The only redeeming quality of this method for the kids was adding the white crayon. If you’ve never done this, draw or write something in a white crayon on the eggshell before you color it. The wax from the crayon resists the dye and your drawing or message will be revealed. This could also be a great way to explore mixing colors and creating different variations of blues or greens.
Add water, food coloring, and vinegar in a glass. I didn’t measure the vinegar but added a splash into each glass. I think it helps the colors stick and stand out more, but I also haven’t tried it without vinegar in a while to test my theory.
Dip your egg into the colored water. You can layer colors or draw with a crayon to create a type of resist art.
Let dry.


Paper Towel Method
Here’s What You Need
Paper towels
Rubber bands
Water
Vinegar if desired
Spoon and slotted spoon.
Metal or glass dish

This method produced fun patterns on the egg, but was harder for the 3-year-old to get into. I think because she couldn’t see the egg changing colors it was hard for her to get invested. I thought it was really neat and our 5-year-old enjoyed it as well.
Add water, food coloring, and vinegar to a glass and mix. We used our leftover dye from the bubble method, but no soap is necessary here.
Wrap your eggs in paper towels and secure with rubber bands.
Hold your egg burrito in a slotted spoon and scoop or pour your dye onto the egg, just be sure to hold it over a bowl or other container to catch the drips.
Let sit for at least 15 minutes, but I would recommend 1 hour or more. We put our eggs back into the fridge if they were hardboild or just let them sit out for at least an hour if they were empty.
Unwrap.


This method gives a speckled look.
Add vinegar to a zip top bag.
Add food coloring. I add the food coloring directly to the vinegar to make sure it is colored and the rice gets evenly coated. This also is the best way to mix colors. We added red and blue to make purple and got a nice smooth and even color.
Add your rice. I use 1 tablespoon of vinegar for every 1 cup of rice. I cup of rice is sufficient to color 4-6 eggs at a time, but you could try multiple batches. I’ve done that in prior years with no issues. If you want more colored rice out of this gig, increase your amounts of both in the correct ratio.
Add your eggs, zip the bag, and shake.
Let the eggs dry and air out your rice if you are saving it.
Once the eggs are dry, rub off any excess rice. We used the empty shells for this session, and I ended up with a lot of rice inside my shells that I cannot get out. I love this method, but much prefer it on hardboiled eggs.


Whew! That was one long post. I hope you found at least one of these egg coloring methods helpful. My goal was to provide you with a guide that you would be able to use without any last minute trips to the store or obscure supplies. I try to use everyday household items in our activities because that is what we have available.
And don’t worry, the blue hands were gone within a few days! But next time I will be prepared with spoons at the ready because clearly they cannot resist a sensory activity!


So which one was our favorite? I love the rice method and the whipped cream method, but if I had to choose just one, I would pick rice every time. It’s not as messy and you get colored rice at the end! The kids liked the shaving cream and bubble methods A LOT! They asked to repeat them both the next day, but I think that says more about the sensory experience they had instead of the egg dyeing success. Of course their favorites produced the least colorful eggs, so you have to decide which is more important in your house.
Which one is your favorite? Let me know in the comments! And be sure to share this post with a friend who might need a way to entertain children this weekend. If you are looking for Easter basket fillers, be sure to check out this post with over 100 ideas!
Happy Easter!

Looking for other activities? Check these out:


Other Recent Posts…


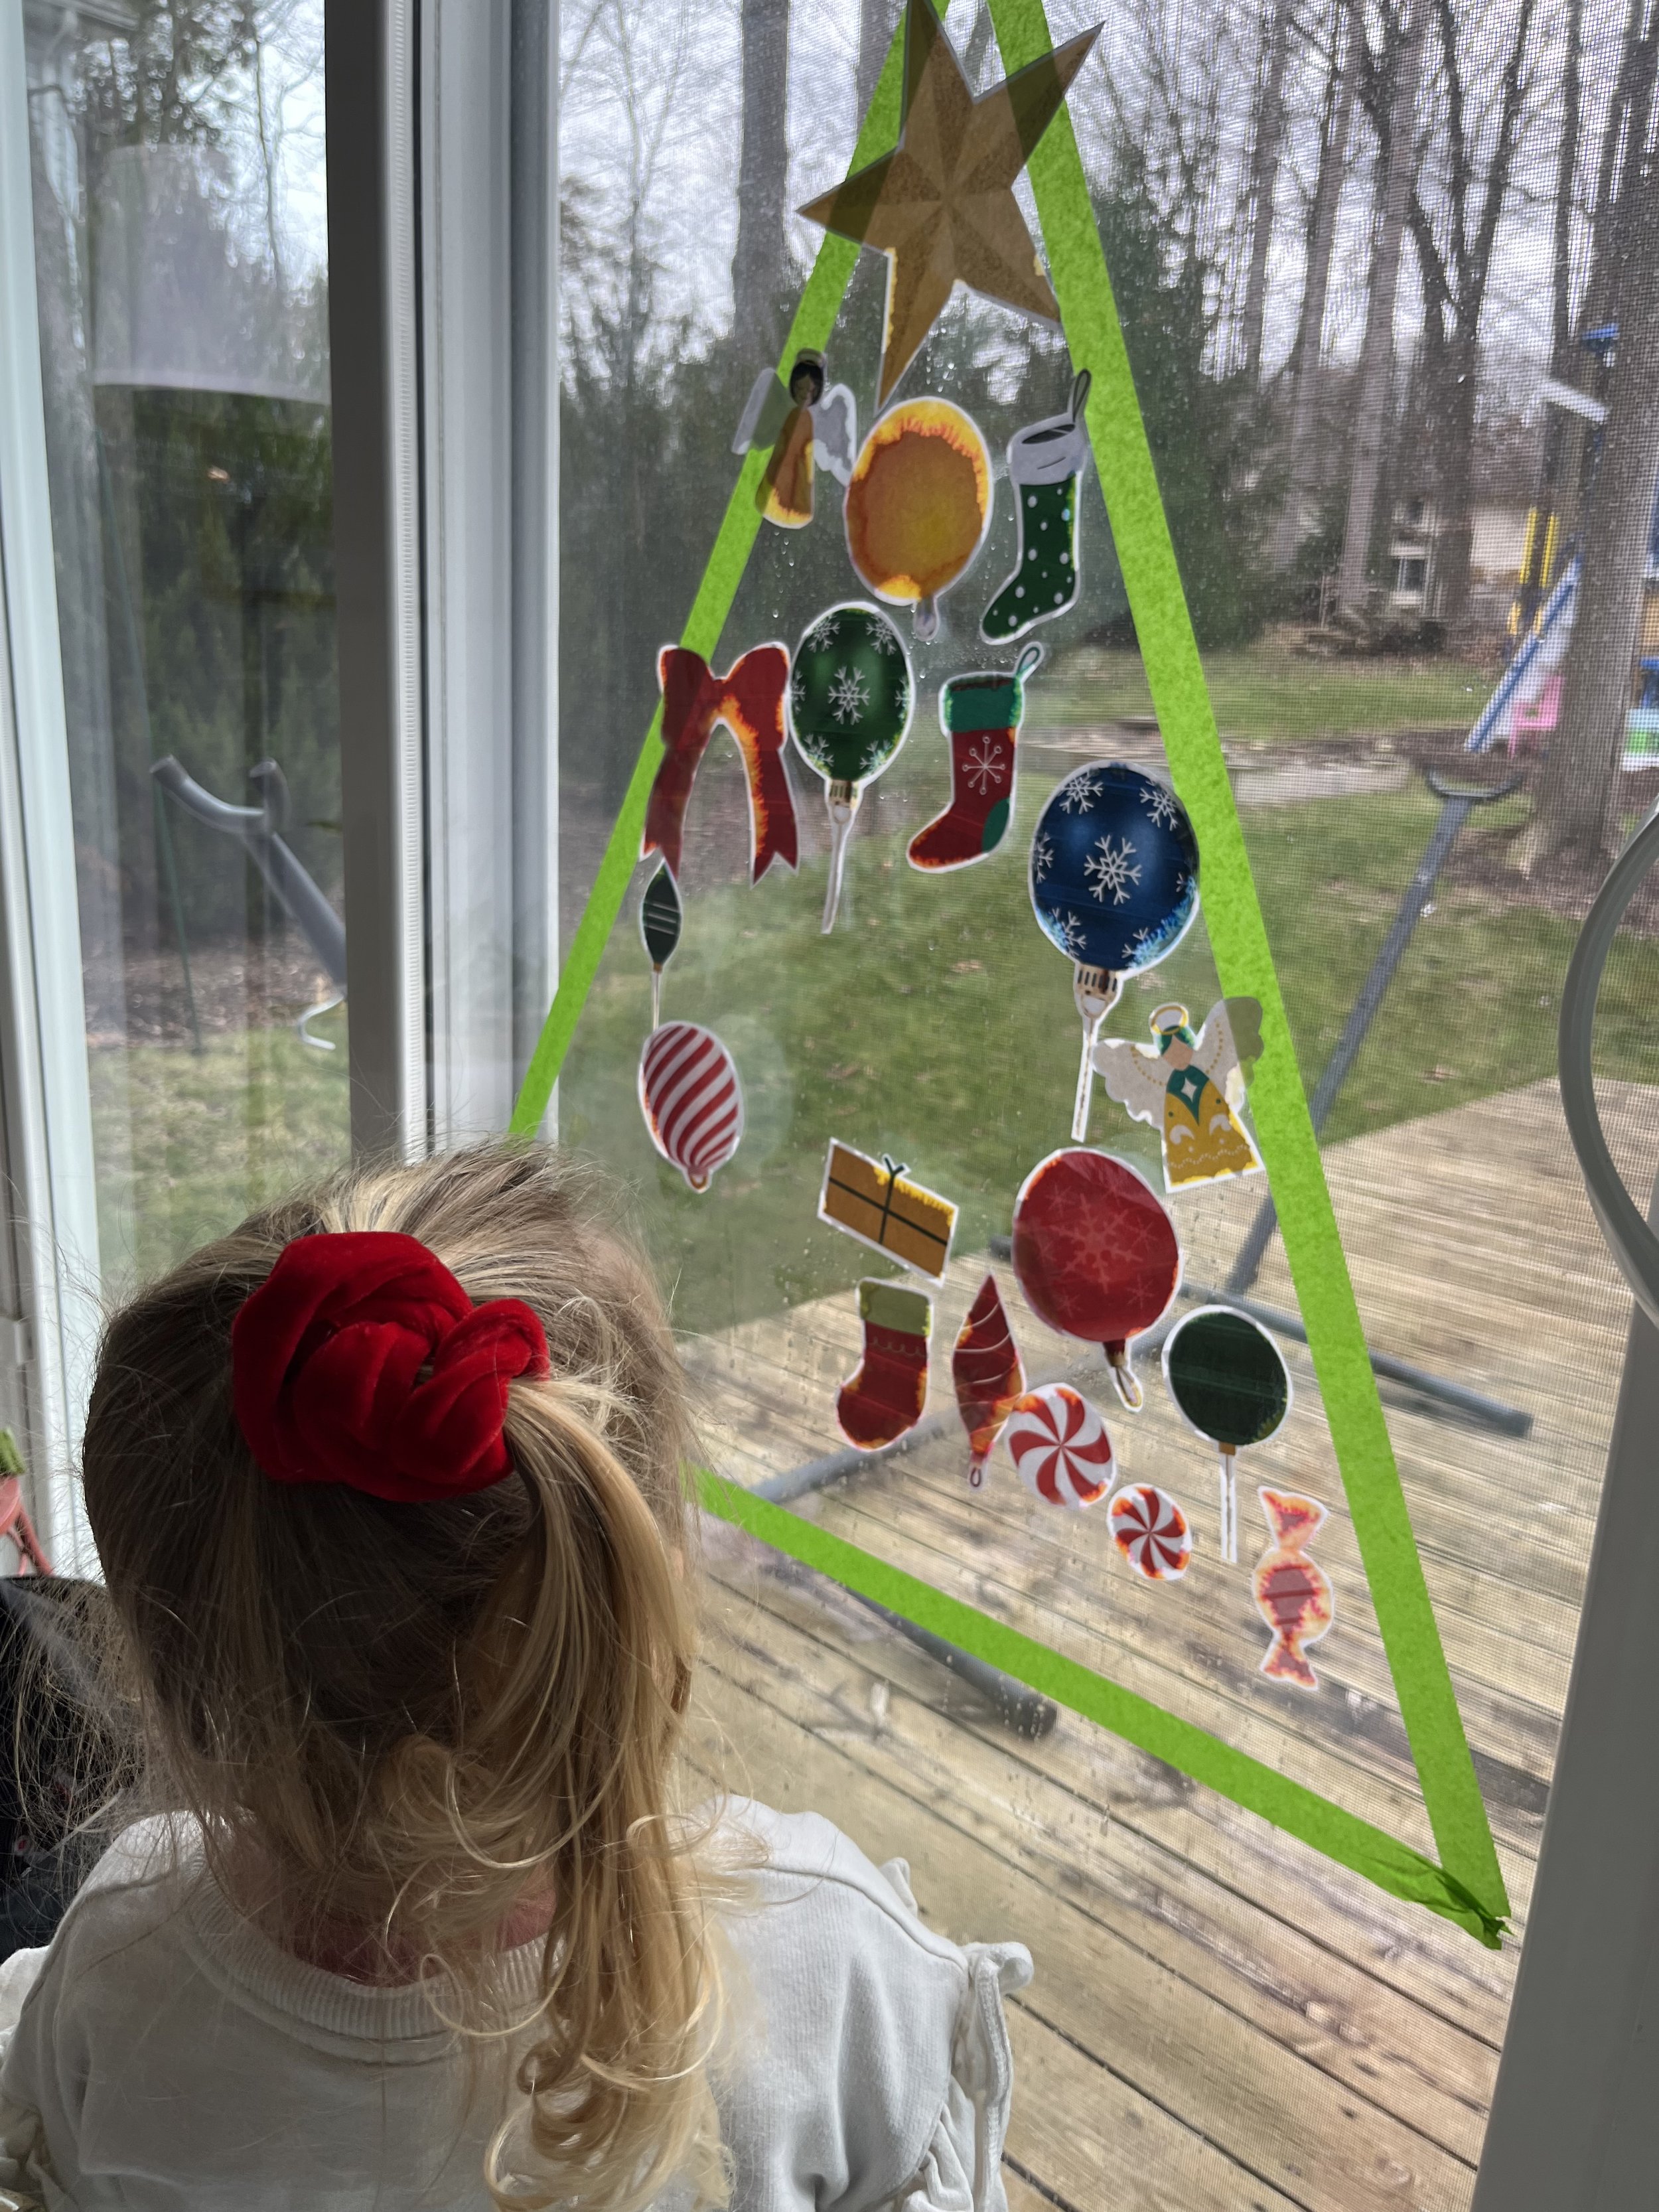


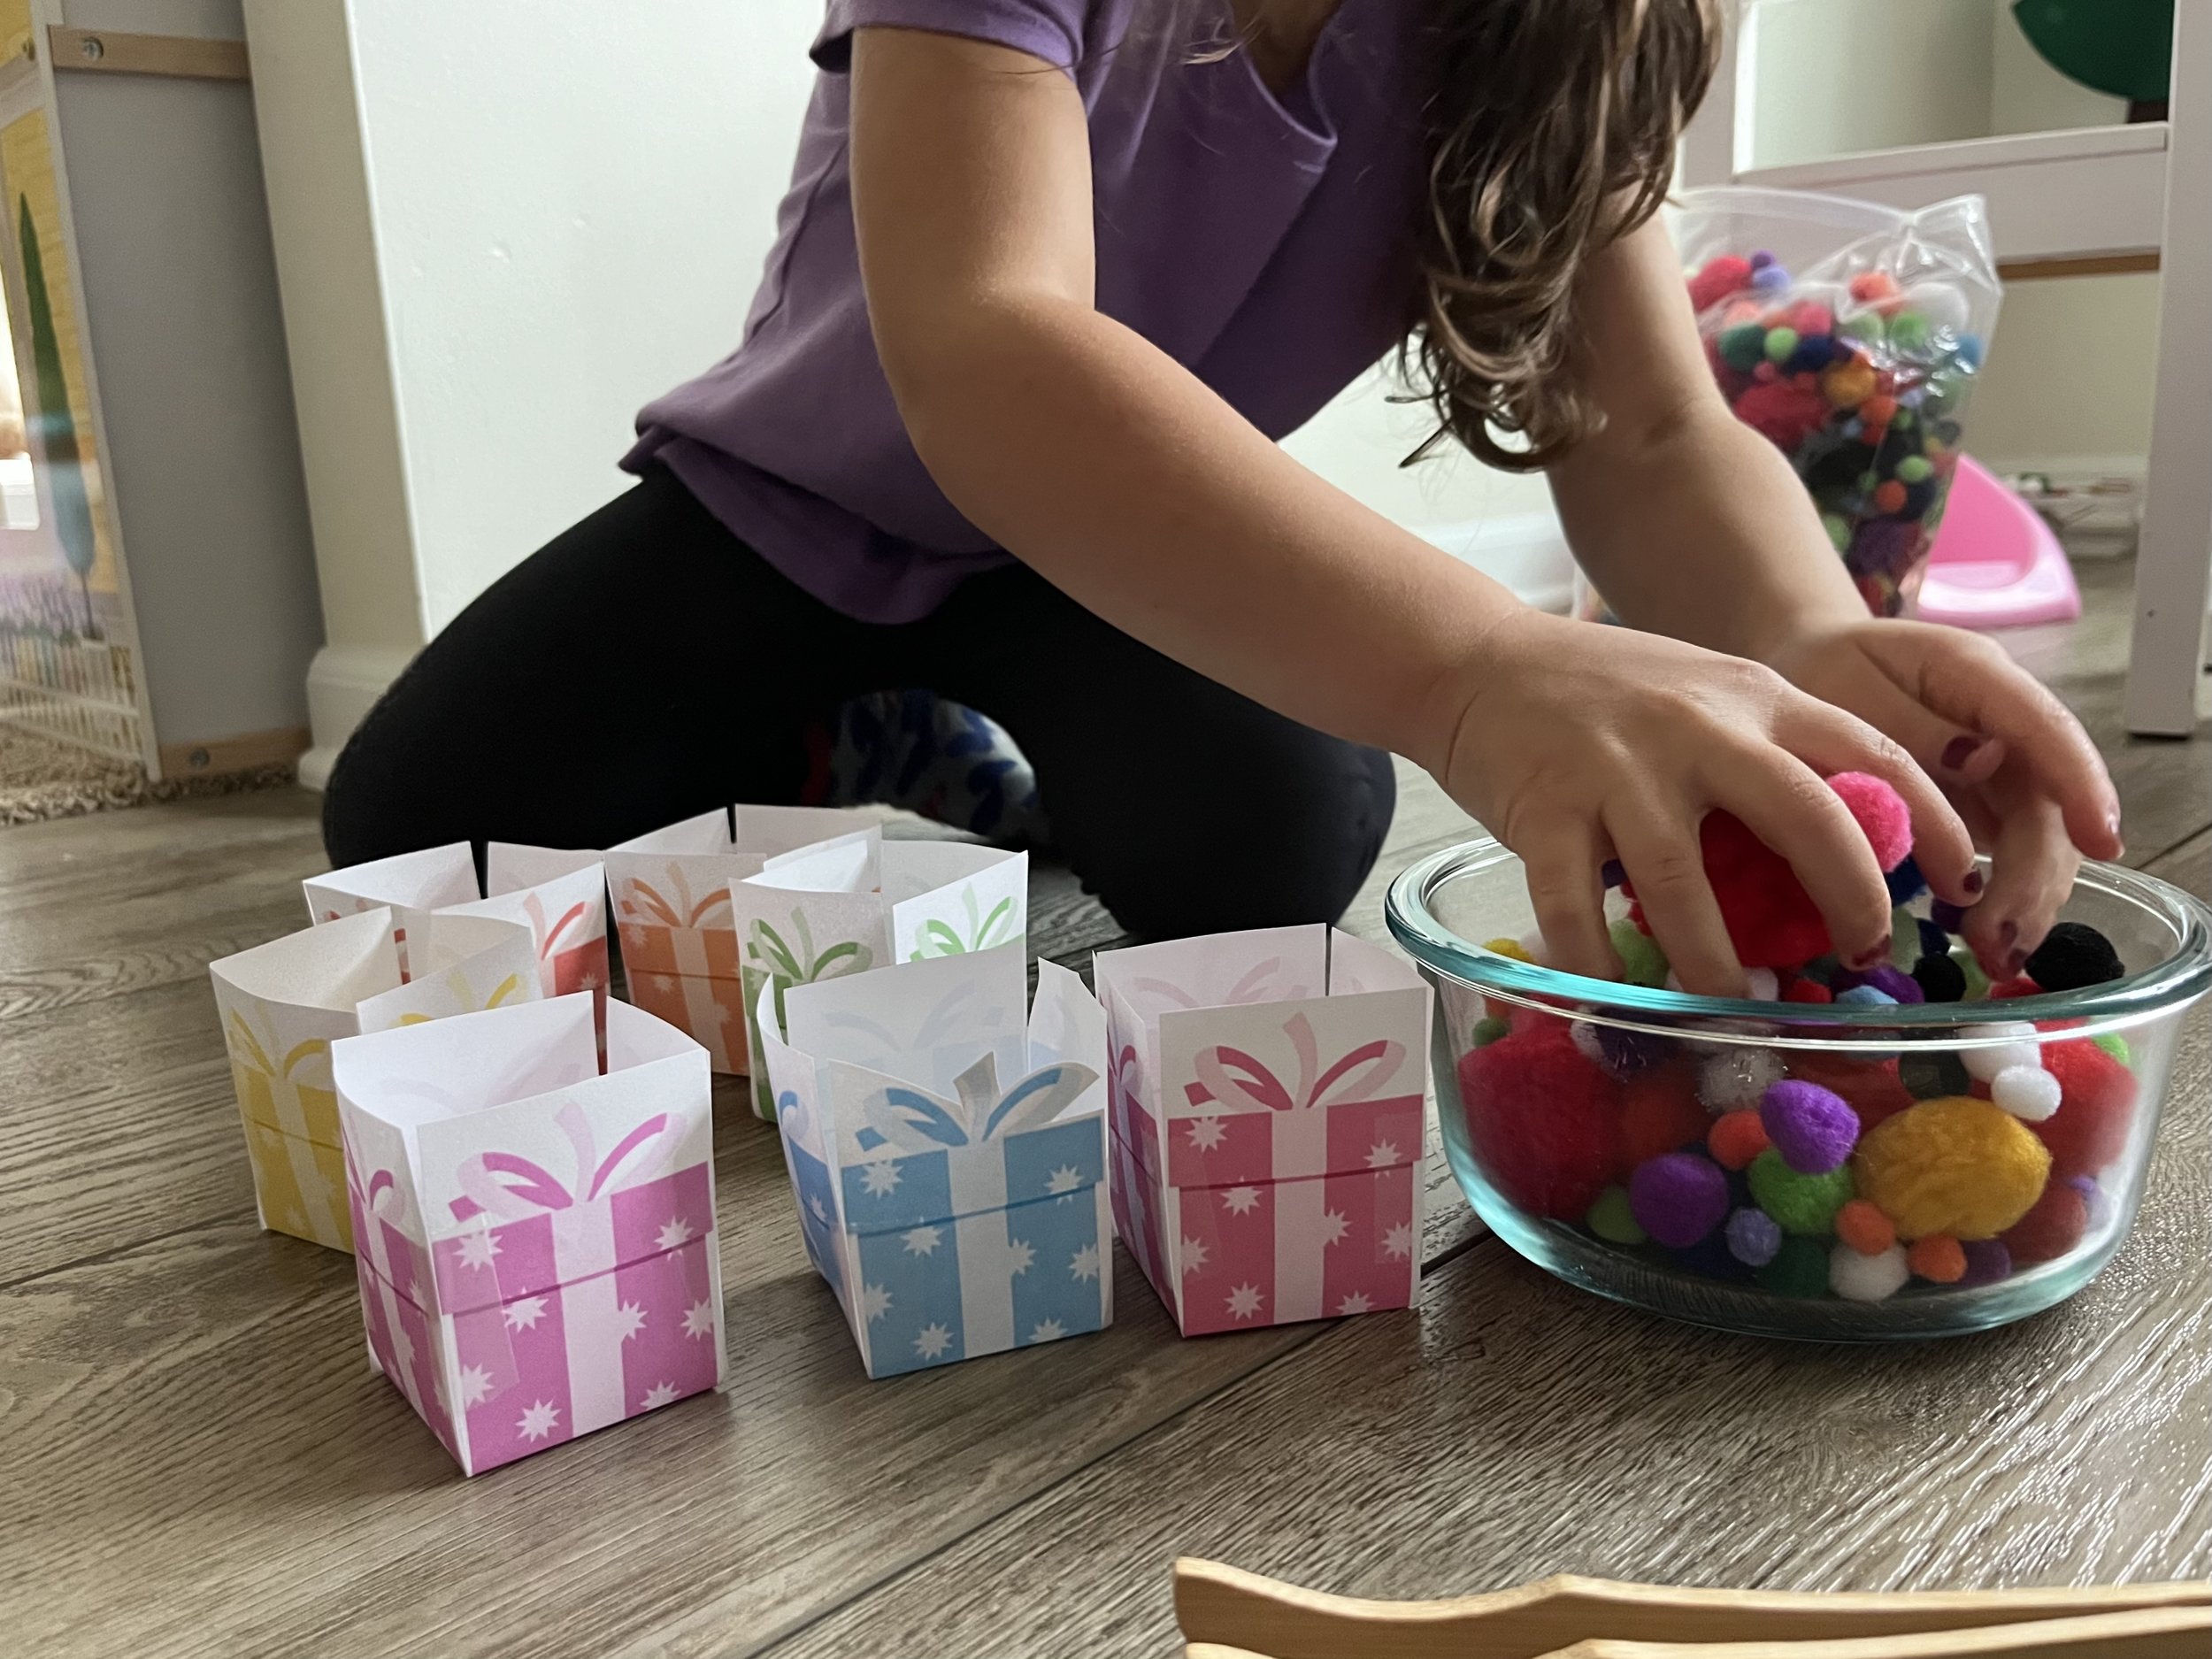
Grab this free download for an easy Christmas activity that is low on mess and big on fun!