

Valentine Sticky Wall- Color and Number Practice
Happy Valentine’s Day! I hope you are soaking up the love in your house and can avoid too many cand crashes. If you are looking for a great activity to entertain the kids, this is it! All of my kids loved this and we kept up the sticky wall for several days because they kept coming back to it. Multiple hours of entertainment from one set up? Sign me up!

This is a great activity with almost no mess to clean up. You can vary the difficulty or goal depending on the age of your child, so it can be fun for everyone!
Here’s What You Need
Colored markers. I love this set of permanent markers (ultra thin tip) or this set (thin tip). I stick to permanent markers so nothing rubs off on my walls on accident.
Scissors- adult or kid version, depending on who is doing the cutting.

Set up
2-3 minutes
Cut the Con-Tact paper to length. I made our set up pretty long because I anticipated more than one child playing at once. You can make yours however long or short you want.
Draw your hearts and numbers. You can draw on the back side (the side without backing), but be sure to write any numbers or words backwards. You can also do Step 3 first and then come back to draw on the sticky side once the Con-Tact paper is up and the backing is off. I drew on the back side (the part that touches the wall) because that meant I could front load my efforts and then be pretty hands off when it was time for the actual activity. My numbers and hearts look a little funky, but my kids didn’t care one bit. I made different colored hearts, some with numbers, and I left some blank.
Tape the Con-Tact paper up to your wall. I like to start at a top corner, peeling a little bit of the backing off at a time, work my way across the top, do the sides, and save the bottom for last. You can also make a complete border of smaller tape strips with the backing still on and then work section by section to peel the backing off.
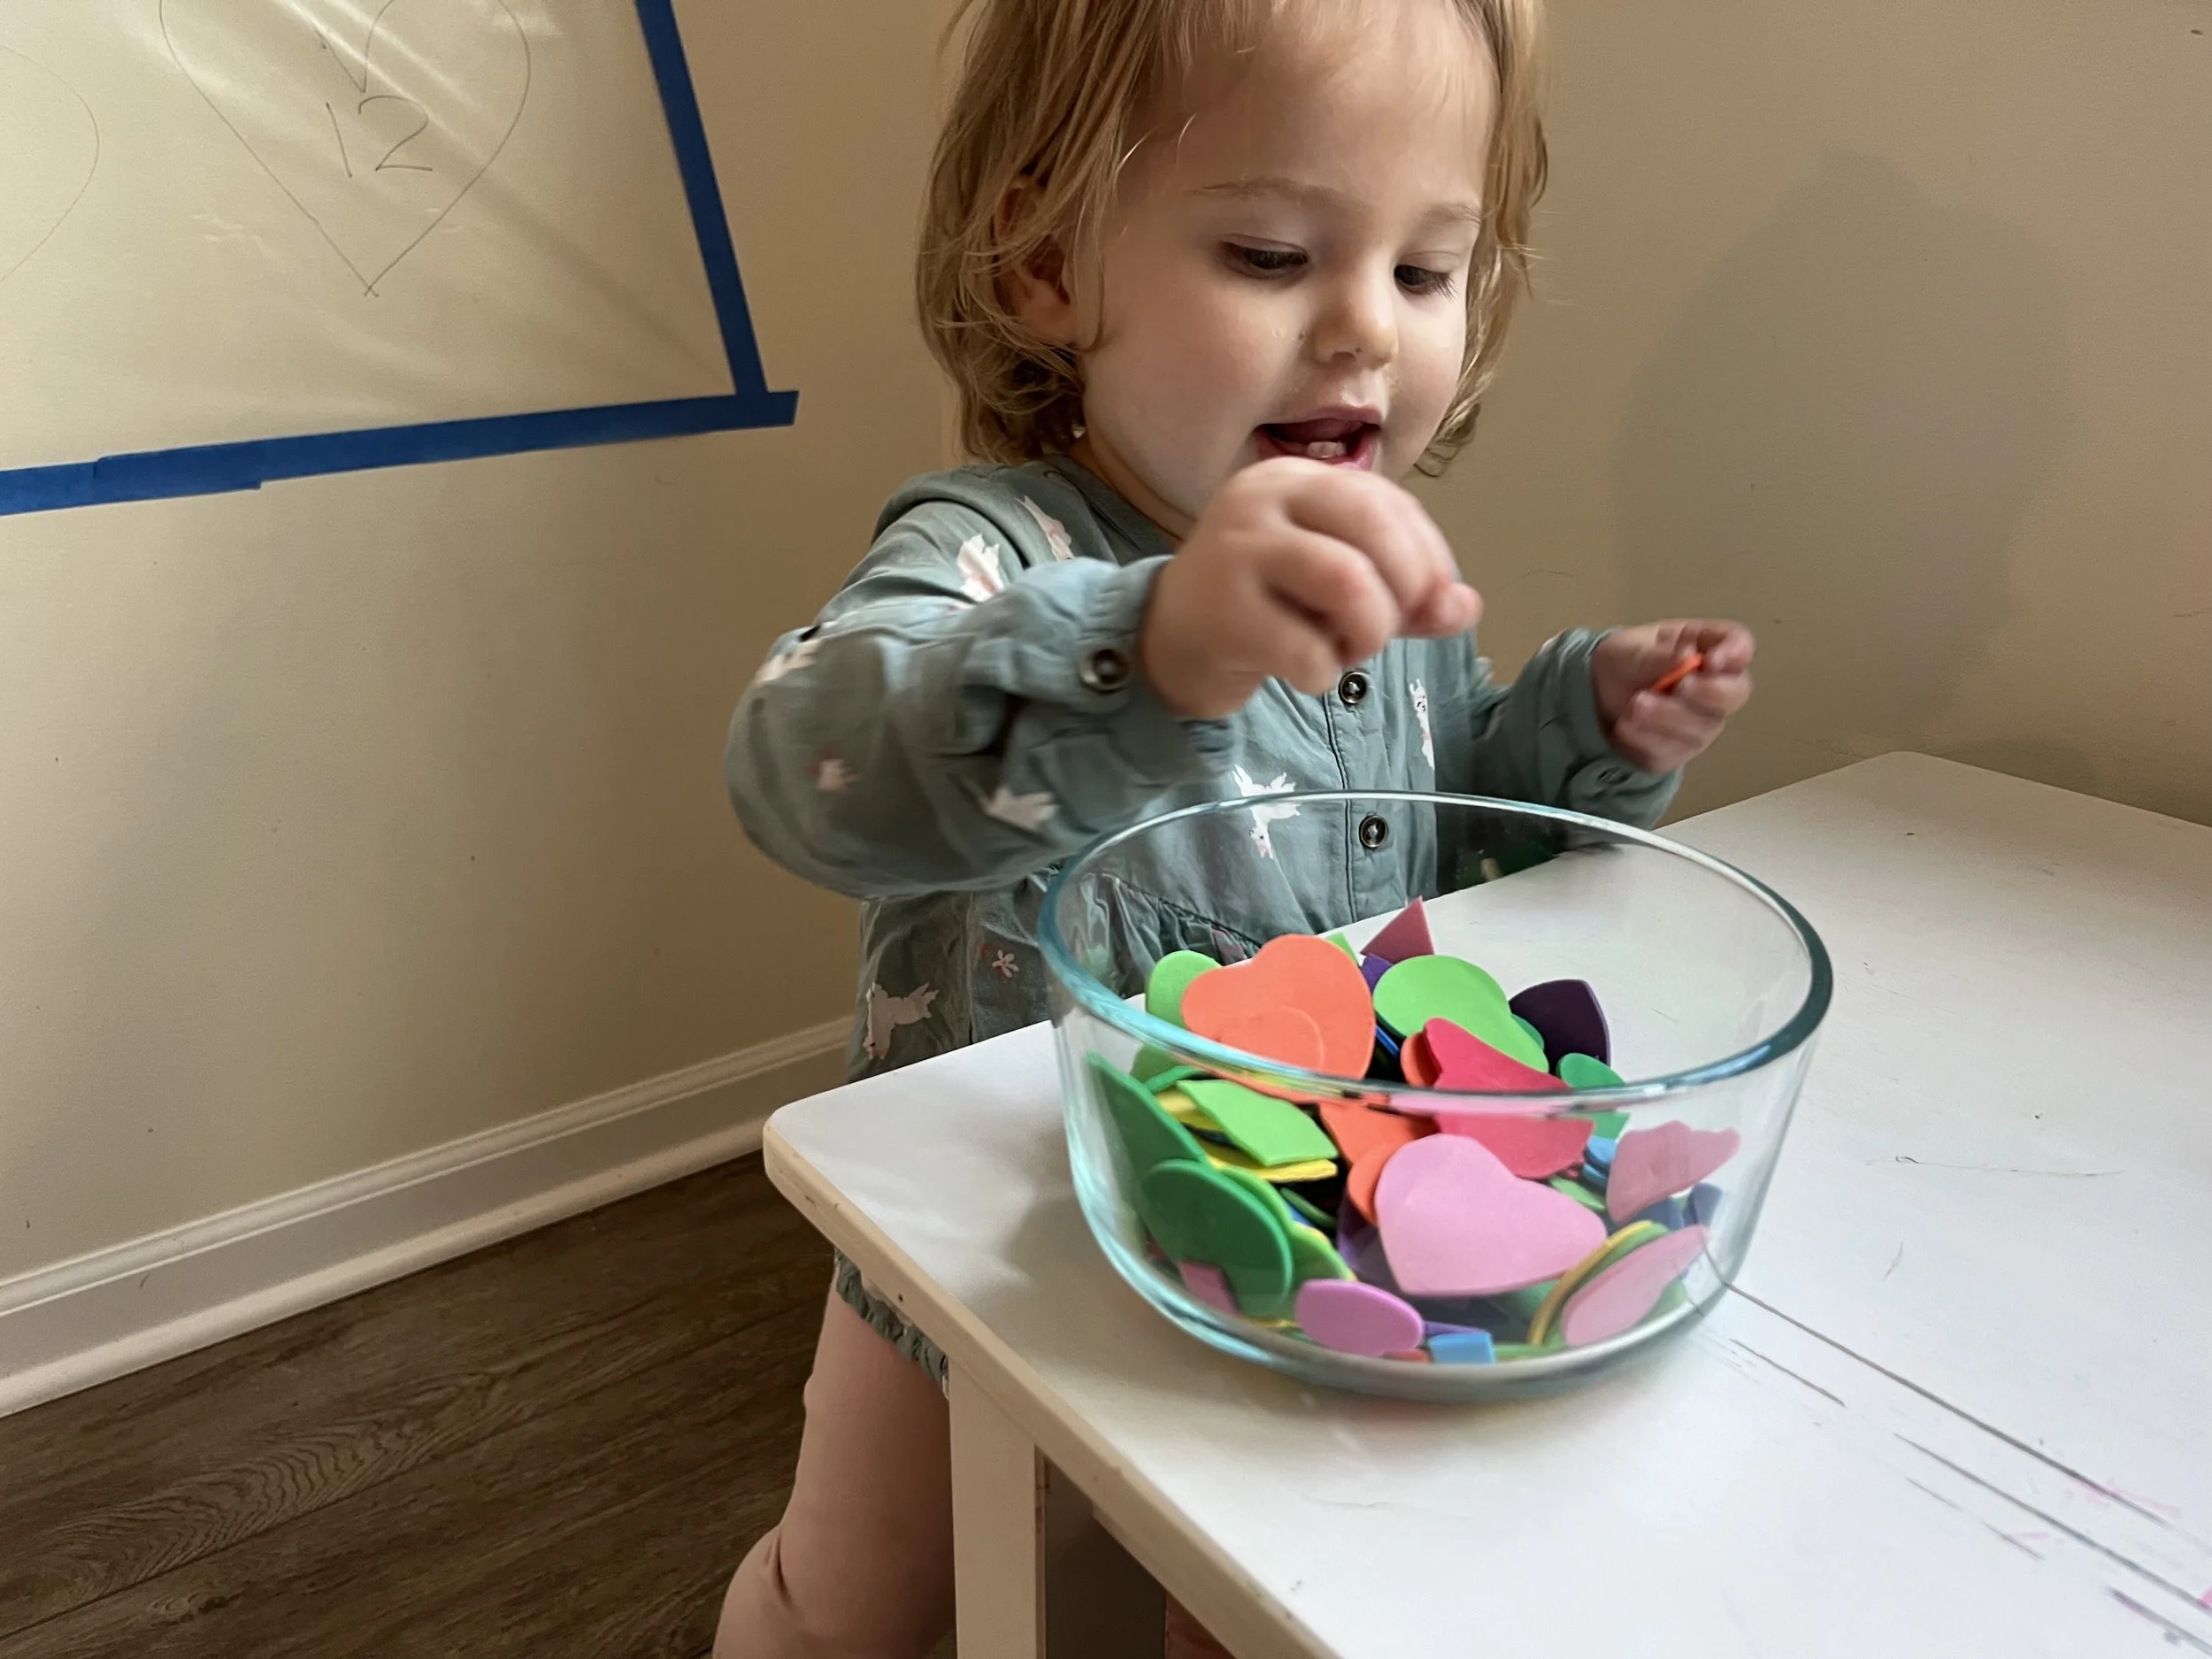
Create the invitation to play. I set out the foam shapes in a bowl and pointed out the different colored hearts and different numbers in the hearts.

Clean Up
2-3 minutes
Gather all the foam shapes. You can save these and reuse them for so many other activities. Ellette was my clean up girl and enjoyed this step the most, so I actually didn’t have much to gather the first time around.
Either leave up the sticky wall for a second (or fourth) day or take it down and throw it away.

There are a few ways to go about this activity, depending on the age and skill level of your child.
You put the shapes up and let your child remove them. This is great for kids just starting to sit, stand, walk, or to work on some grasping.
Your child puts up the shapes in whatever pattern they choose. You might have to demonstrate how the sticky wall works at first.
Sort by color only.
Sort by number only. This could mean numbers 1-5, 10-20, or including addition practice for older children 2+2, 2+3, etc.
Sort shapes only. This would look like all of the hearts go in a heart, all of the squares go in a square, etc.
Sort by color and shape. Red squares in the red square, red hearts in the red heart, etc.
Sort by color and number.
Leave the hearts blank and let your child try to fill in the entire shape with on color.
Leave the hearts blank and have your child make different faces for happy, sad, etc.


The colors of the hearts are a little tough to capture with the window right next to our playing area, but you can see how Vaila sorted the shapes by color. This was a great opportunity to help with classifying light vs dark and deciding where they should go considering we only had one green heart and one blue heart. We practiced counting numbers together as I purposefully chose higher numbers to stretch her thinking just a bit.
When Ellette woke up from her nap, she loved taking all of the shapes off and putting them back in the bowl. It was quite comical to witness how determined she was to reach the tallest ones and how laser focused she was on this task. Even though she didn’t put them up, it still gave her an opportunity to observe color sorting.
Vaila loved this and played independently for quite a while. We/Ellette took all of the shapes down, but we kept the sticky wall up overnight. It was the first thing all of the kids gathered around at 7am the next morning, jammies and all! Eventually Vaila decided to pull up a chair because she was working on this activity for so long! The older girls put in some solid work before breakfast and then Ellette had a field day getting to remove all of the shapes.


We have had this sticky wall up for nearly a week now and Ellette has finally learned how to put the foam shapes on. She is still learning how to sort, but even just manipulating the shapes has been fun for her. The foam is a new texture for her and she loves to carry the shapes around. It’s a great way to introduce color recognition and sorting. We also practiced counting to 3 with her and the big sisters got a kick out of helping with this.
Now that you know just how simple this activity is, I hope you get a chance to make this sticky wall! Your kids will love it and the clean-up is so quick! A definite win in my book! If you don’t have Con-Tact paper on hand, I encourage you to buy or order some. We probably set up a sticky wall 2-3 times a year and the kids are enamored every time! There are so many different ways to set up a sticky wall, but this one doesn’t have to be limited to just Valentine’s Day. You can make circles or squares instead of hearts of you want.
Wishing all the love, especially today!

Looking for other activities? Check these out:
You may also enjoy…

Other Recent Posts…


I’m bringing you a whole post full of ideas that I am actually gifting this year! You are sure to find some inspiration in this post.