

Letter and Color Recognition with Dot Stickers
School has started for the and we are finding our groove within these new routines and schedules. For our family, striking a balance between free play and some specific activity seems to help with moods and cooperation throughout the day and week.
This activity used the same concept for all 3 kids, but we modified the difficulty depending on the age and skill of each individual child. One activity for a (nearly) 2 year old, a 4 year old, and a 6 year old? Sign me up!

This activity can be extremely hands off if you have a preschool aged child or older. Ellette needed a little direction and encouragement to keep with the task, but everyone loved this!
Here’s What You Need
Paper with child’s name or other word written/printed in block or bubble letters. Grab your FREE PRINTABLE below.
Pencil or pen
Dot markers for younger children

Set up
1-3 minutes
Print or write your child’s name or another word in block or bubble letters. For the older kids working on letters, I used their names. For Ellette, I used a 4 letter word to correspond to the number of colors available on our dot sticker page.
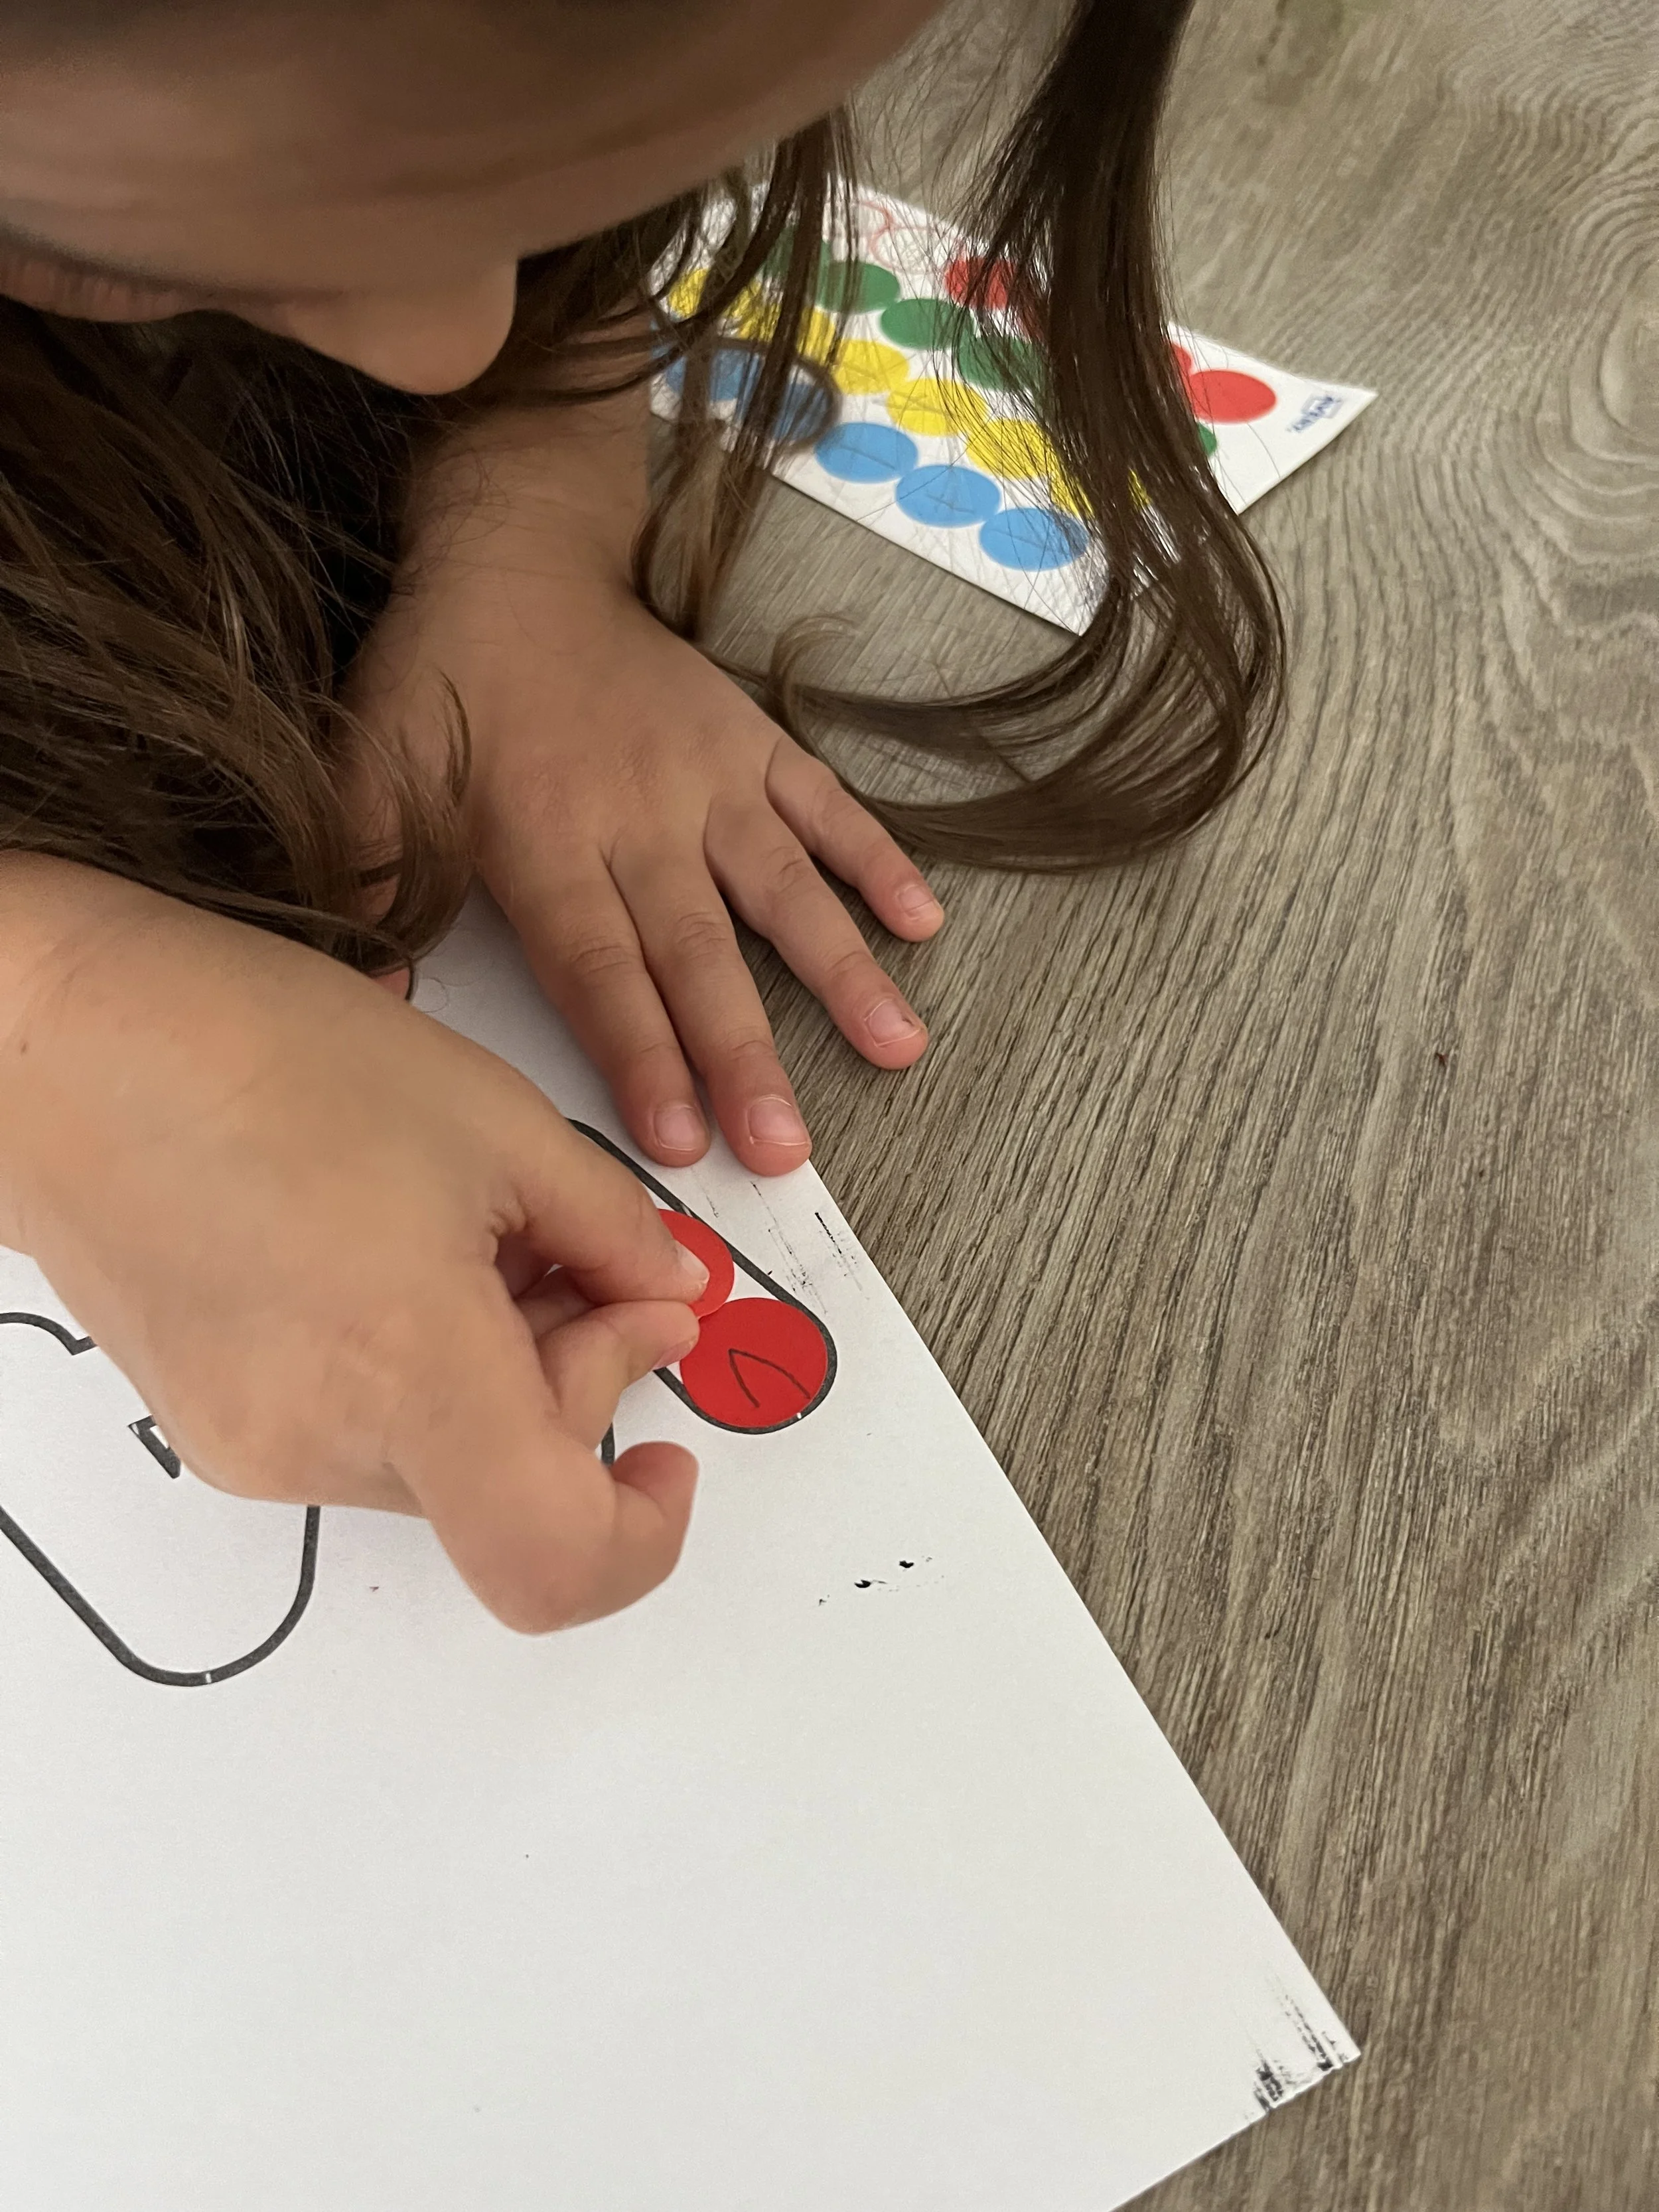
Have older kids start by writing one letter on each dot sticker. Since we were working on their names, each child got to work on letter formation. If your child has 4 letters in their name, encourage them to start at a different color or orient the stickers horizontally so they can get the rainbow effect, if desired. Otherwise, the first letter would always be red, the second letter would always be yellow, and so on. You can also help with some of the letters if your child is still learning letter formation or if they give a good effort but get tired. Vaila was working so hard on her name, but asked for help after a while.
For younger children, add a few dot marker dots in each letter to give them an idea of how and where to match the stickers.
Tip- for younger kids, peel the excess sticker off of the backing, leaving only the dot stickers. This helps eliminate frustration and lets them actually work on color matching with some fine motor skills. Ellette was very upset every time she ripped off a tiny piece of the excess/background sticker and it was distracting her from enjoying the activity. As her fine motor skills improve, I would let her work through some of that frustration and improve her abilities. Today was not that day.
Match color or letter and place the dot stickers on the page. It is OK if the kids aren’t perfect!


Clean Up
1-2 minutes
Save any extra dot stickers and store the dot markers.
Trash or recycle anything else.


If you use the free editable download, available above, you will read that longer names might need to be split onto 2 separate pages and taped together. Brinley’s name was a touch too long and the letters were a touch too small to accommodate the size of the dot stickers. She was fine with it, but younger children might have an issue with this.
You can also look closely to see that she is working on capital vs lowercase letters in her name. This activity can be a wonderful way to work on pairing upper and lowercase versions of the same letter.

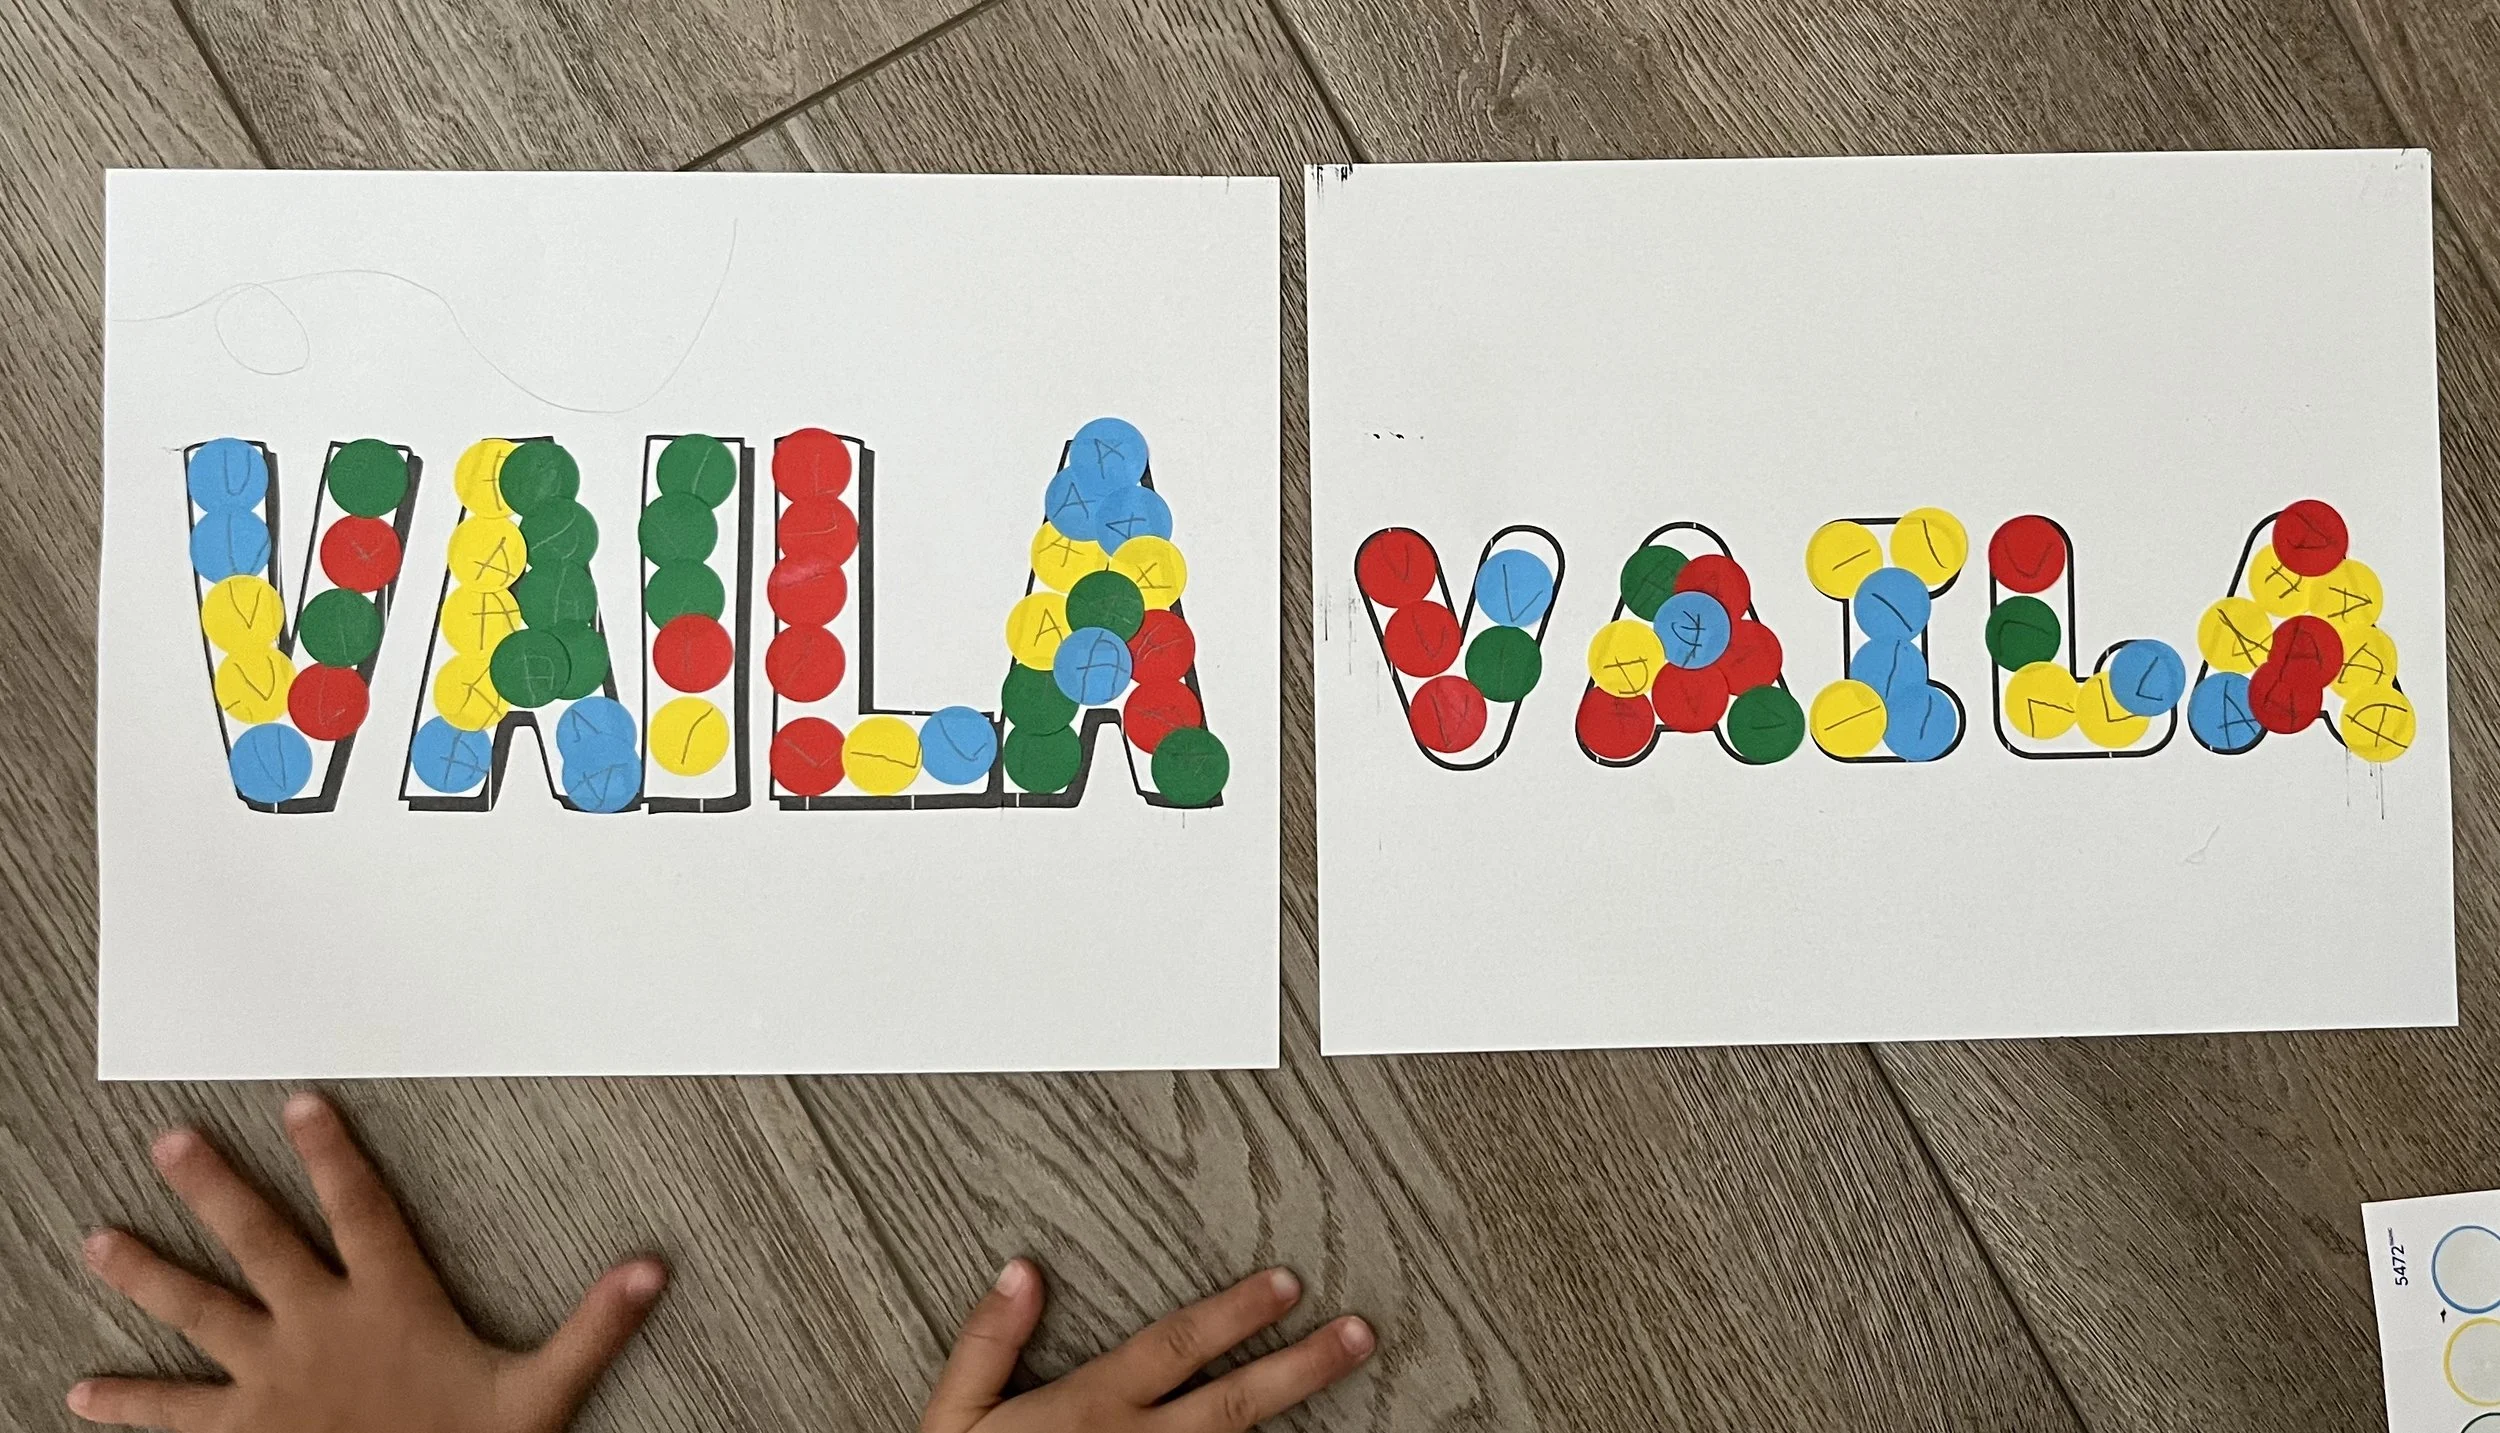
In the editable template I created for you, I included two different fonts. The kids enjoyed both, but for the same number of letters, you can see that the version on the left fit the stickers a bit better.
You can also see how awesome this activity is for a wide variety of skills! Letter formation, fine motor skills of placing the letters, and letter recognition all in one place.


Now let’s talk about how this went to an almost 2 year old. Ellette is still working on consistently verbalizing the correct color. Every color is named “blue” recently, but she can say the basic colors if the give her a hint of the first sound. Matching letters would have been way over her head at this point, so we skipped that part all together.
Instead, I printed a 4 letter word because I had 4 colors of dot stickers and the dot markers to match. Having the right basic supplies on hand makes doing activities like this much more achievable. I was originally intending to have this set up for the older kids while Ellette napped, but by the time I finished cleaning up lunch she was already awake! Luckily for you, that means I had to improvise and it turned into an amazing modification for this activity.
I used dot markers to make targets for where the stickers should be placed. I wasn’t sure if she would understand the concept if I colored the whole letter with a crayon or normal marker. I tried to demonstrate for her, but being almost 2 years old means we hear a lot of “No, me do self!” recently. So I pointed to the red sticker and then to the red dots while saying something like, “Red sticker, red dot. Red, red.” As she grew more familiar with the activity, I asked her which color she was working on. You can see in the last picture that not every sticker landed on a dot. That’s OK!
I put my phone away before she finished, but she actually started putting green stickers in the red letter. At first I corrected her, but then decided she had done a lot of hard work on a new activity. Although my inner perfectionist was squirming, she was still having a blast and working on fine motor skills. I could still talk to her about which color dot she was choosing. An activity doesn’t have to go according to plan to be great!

Be sure to grab the free template above and I hope you get a chance to try this activity!

Looking for other activities? Check these out:


Other Recent Posts…


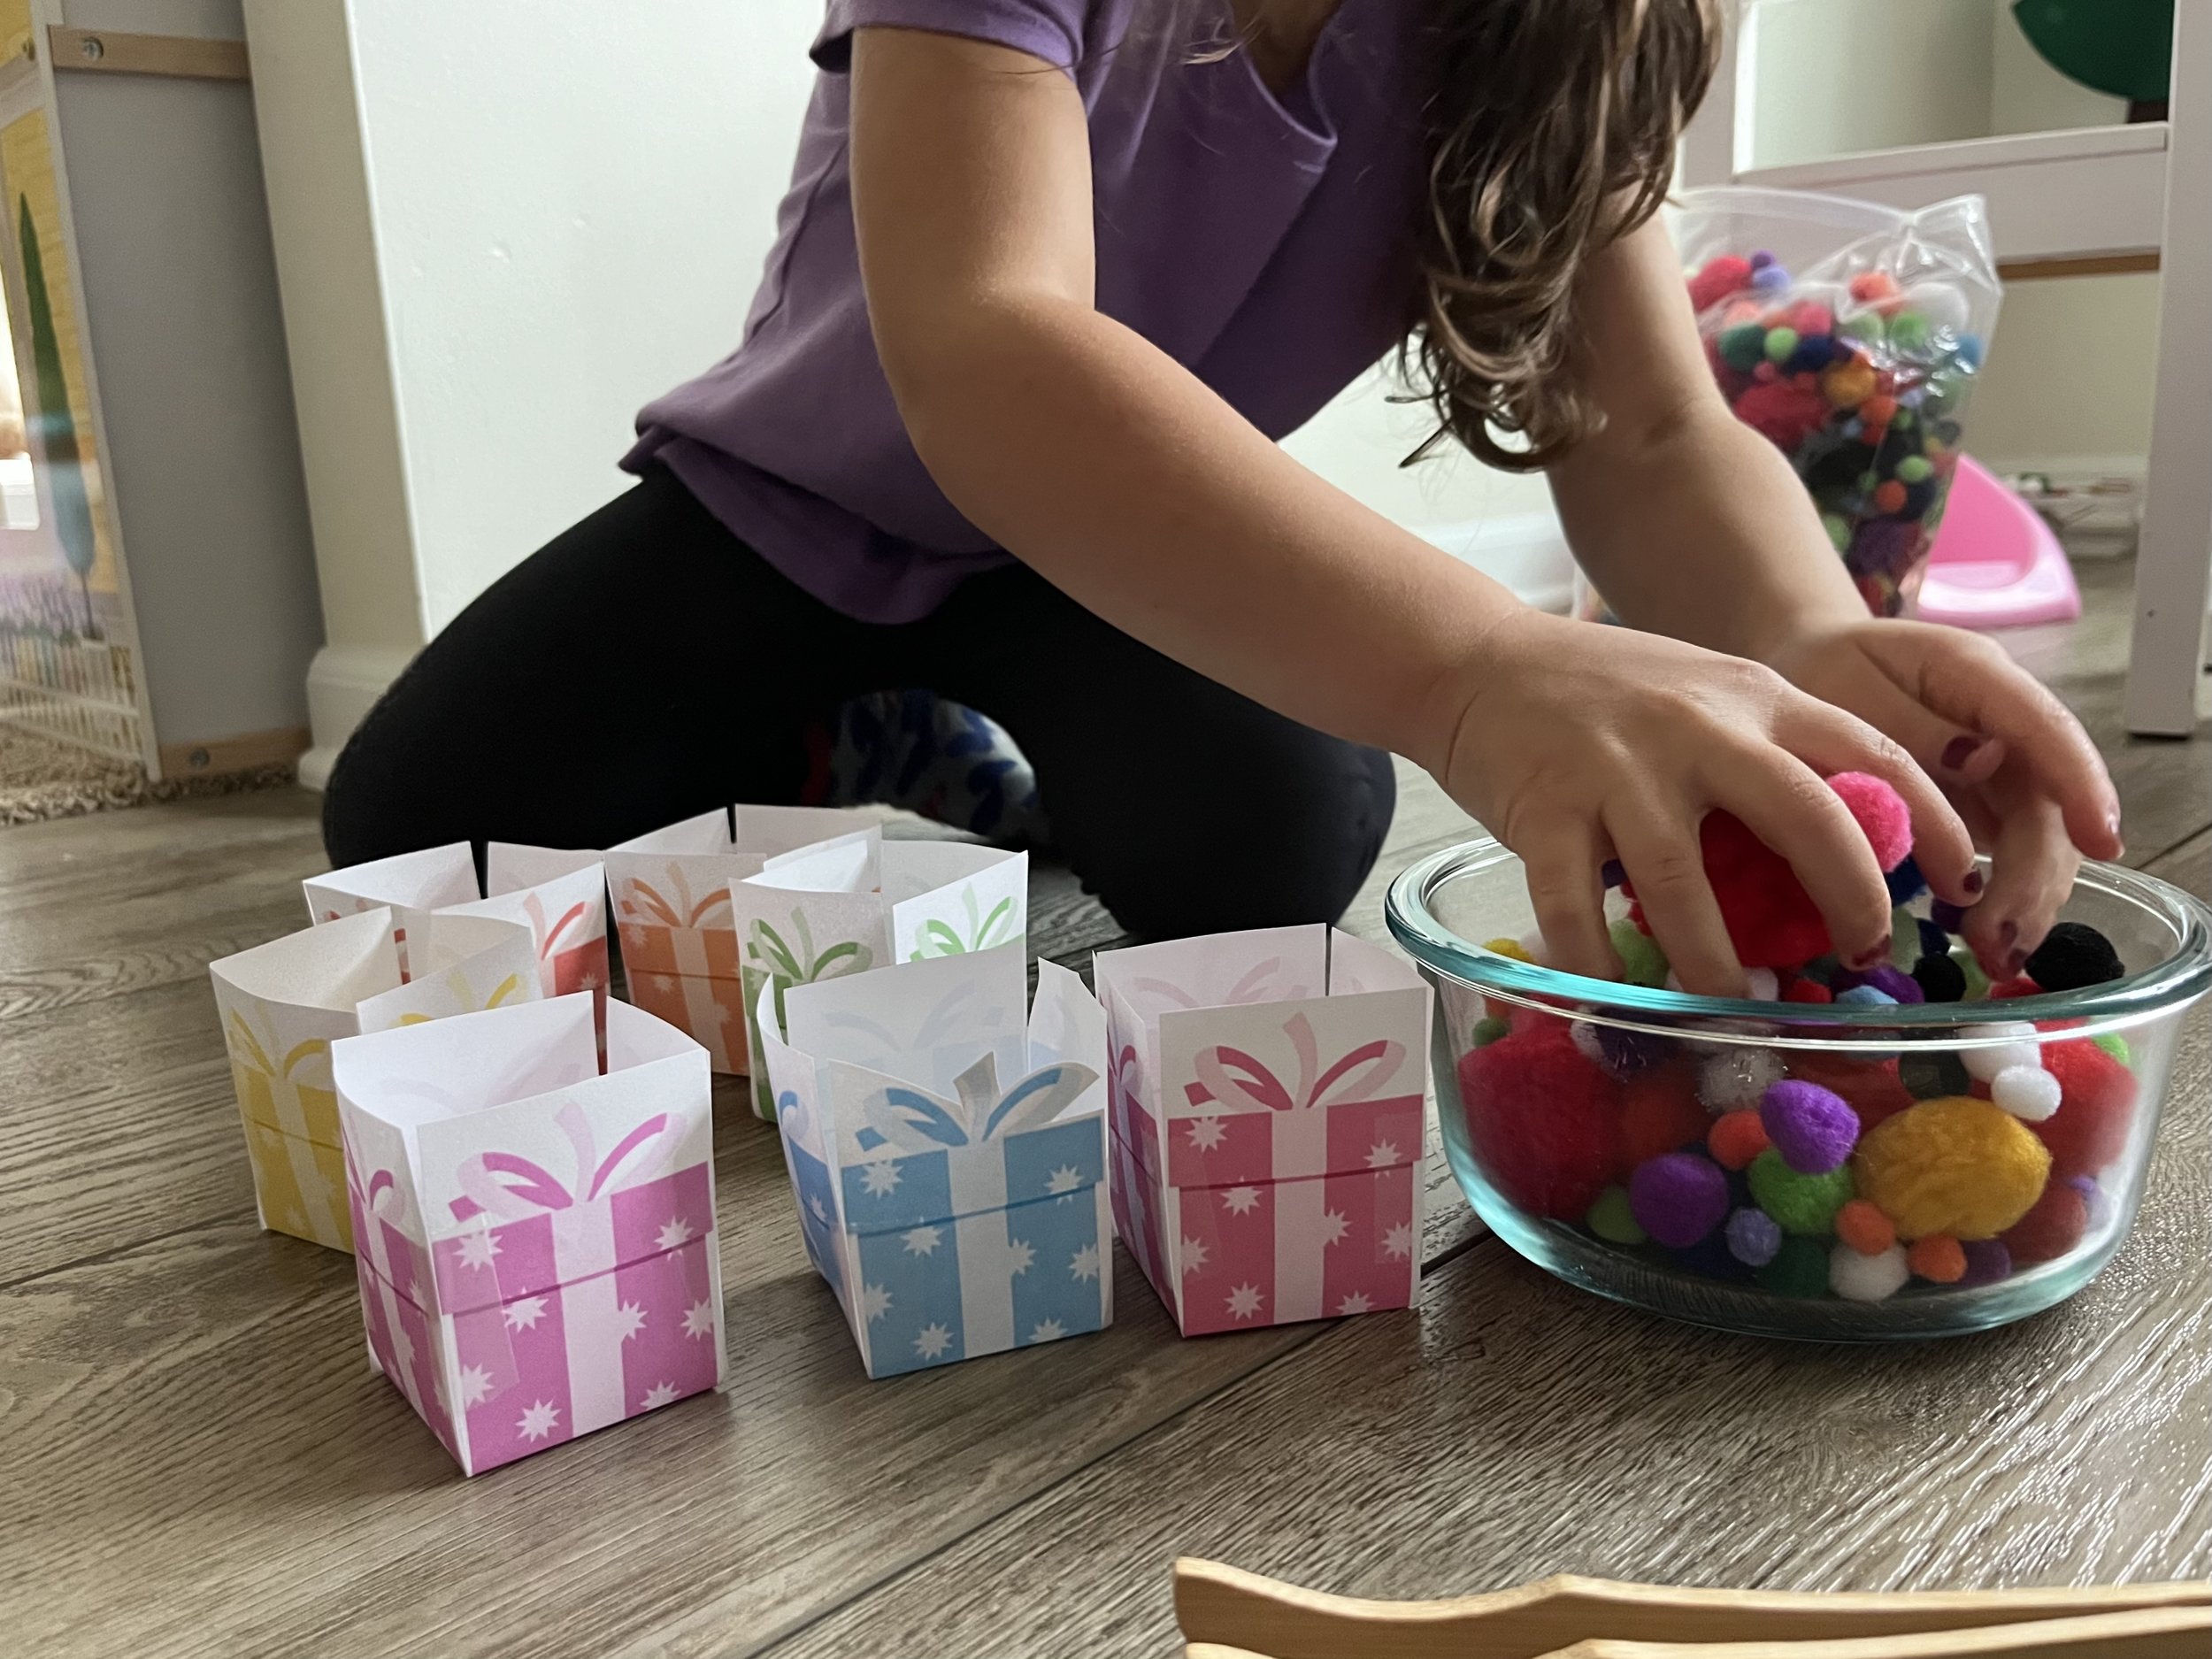
Grab this free download for an easy Christmas activity that is low on mess and big on fun!