

Ultra-Easy Salt Sensory Bin
Ever have a moment when you want to set up an activity for you child(ren), but something stops you? Maybe you don’t have the time to search Pinterest, there are 10 steps to setting up an activity, or you don’t have the supplies necessary for a really cool craft. Sound familiar?
That was me today. With my oldest daughter back in school now, my 3-year-old and (almost) 1 year old are home with me. Normally my girls play wonderfully together, but I still thought my 3-year-old would like some of the freedom of getting to decide how she played or what she played with. I definitely wasn’t anticipating how clingy Vaila would be without Brinley at home.
I get it! Brinly loves to lead during play and Vaila wanted me to take that role. It was fun at first, but I quickly saw all of my hopes of getting any cleaning done around the house circling the drain. Cue the inspiration for today’s post.

Here’s what you need
Sensory bin. I know I say this in every sensory bin post (here, here, or here if you are looking for more ways to use a sensory bin), but this thing is so handy!
Salt. I picked some up at the grocery store for under $1 when we were planning to make play dough a few days ago. If you are an online shopping kind of person, this 3-pack would work.
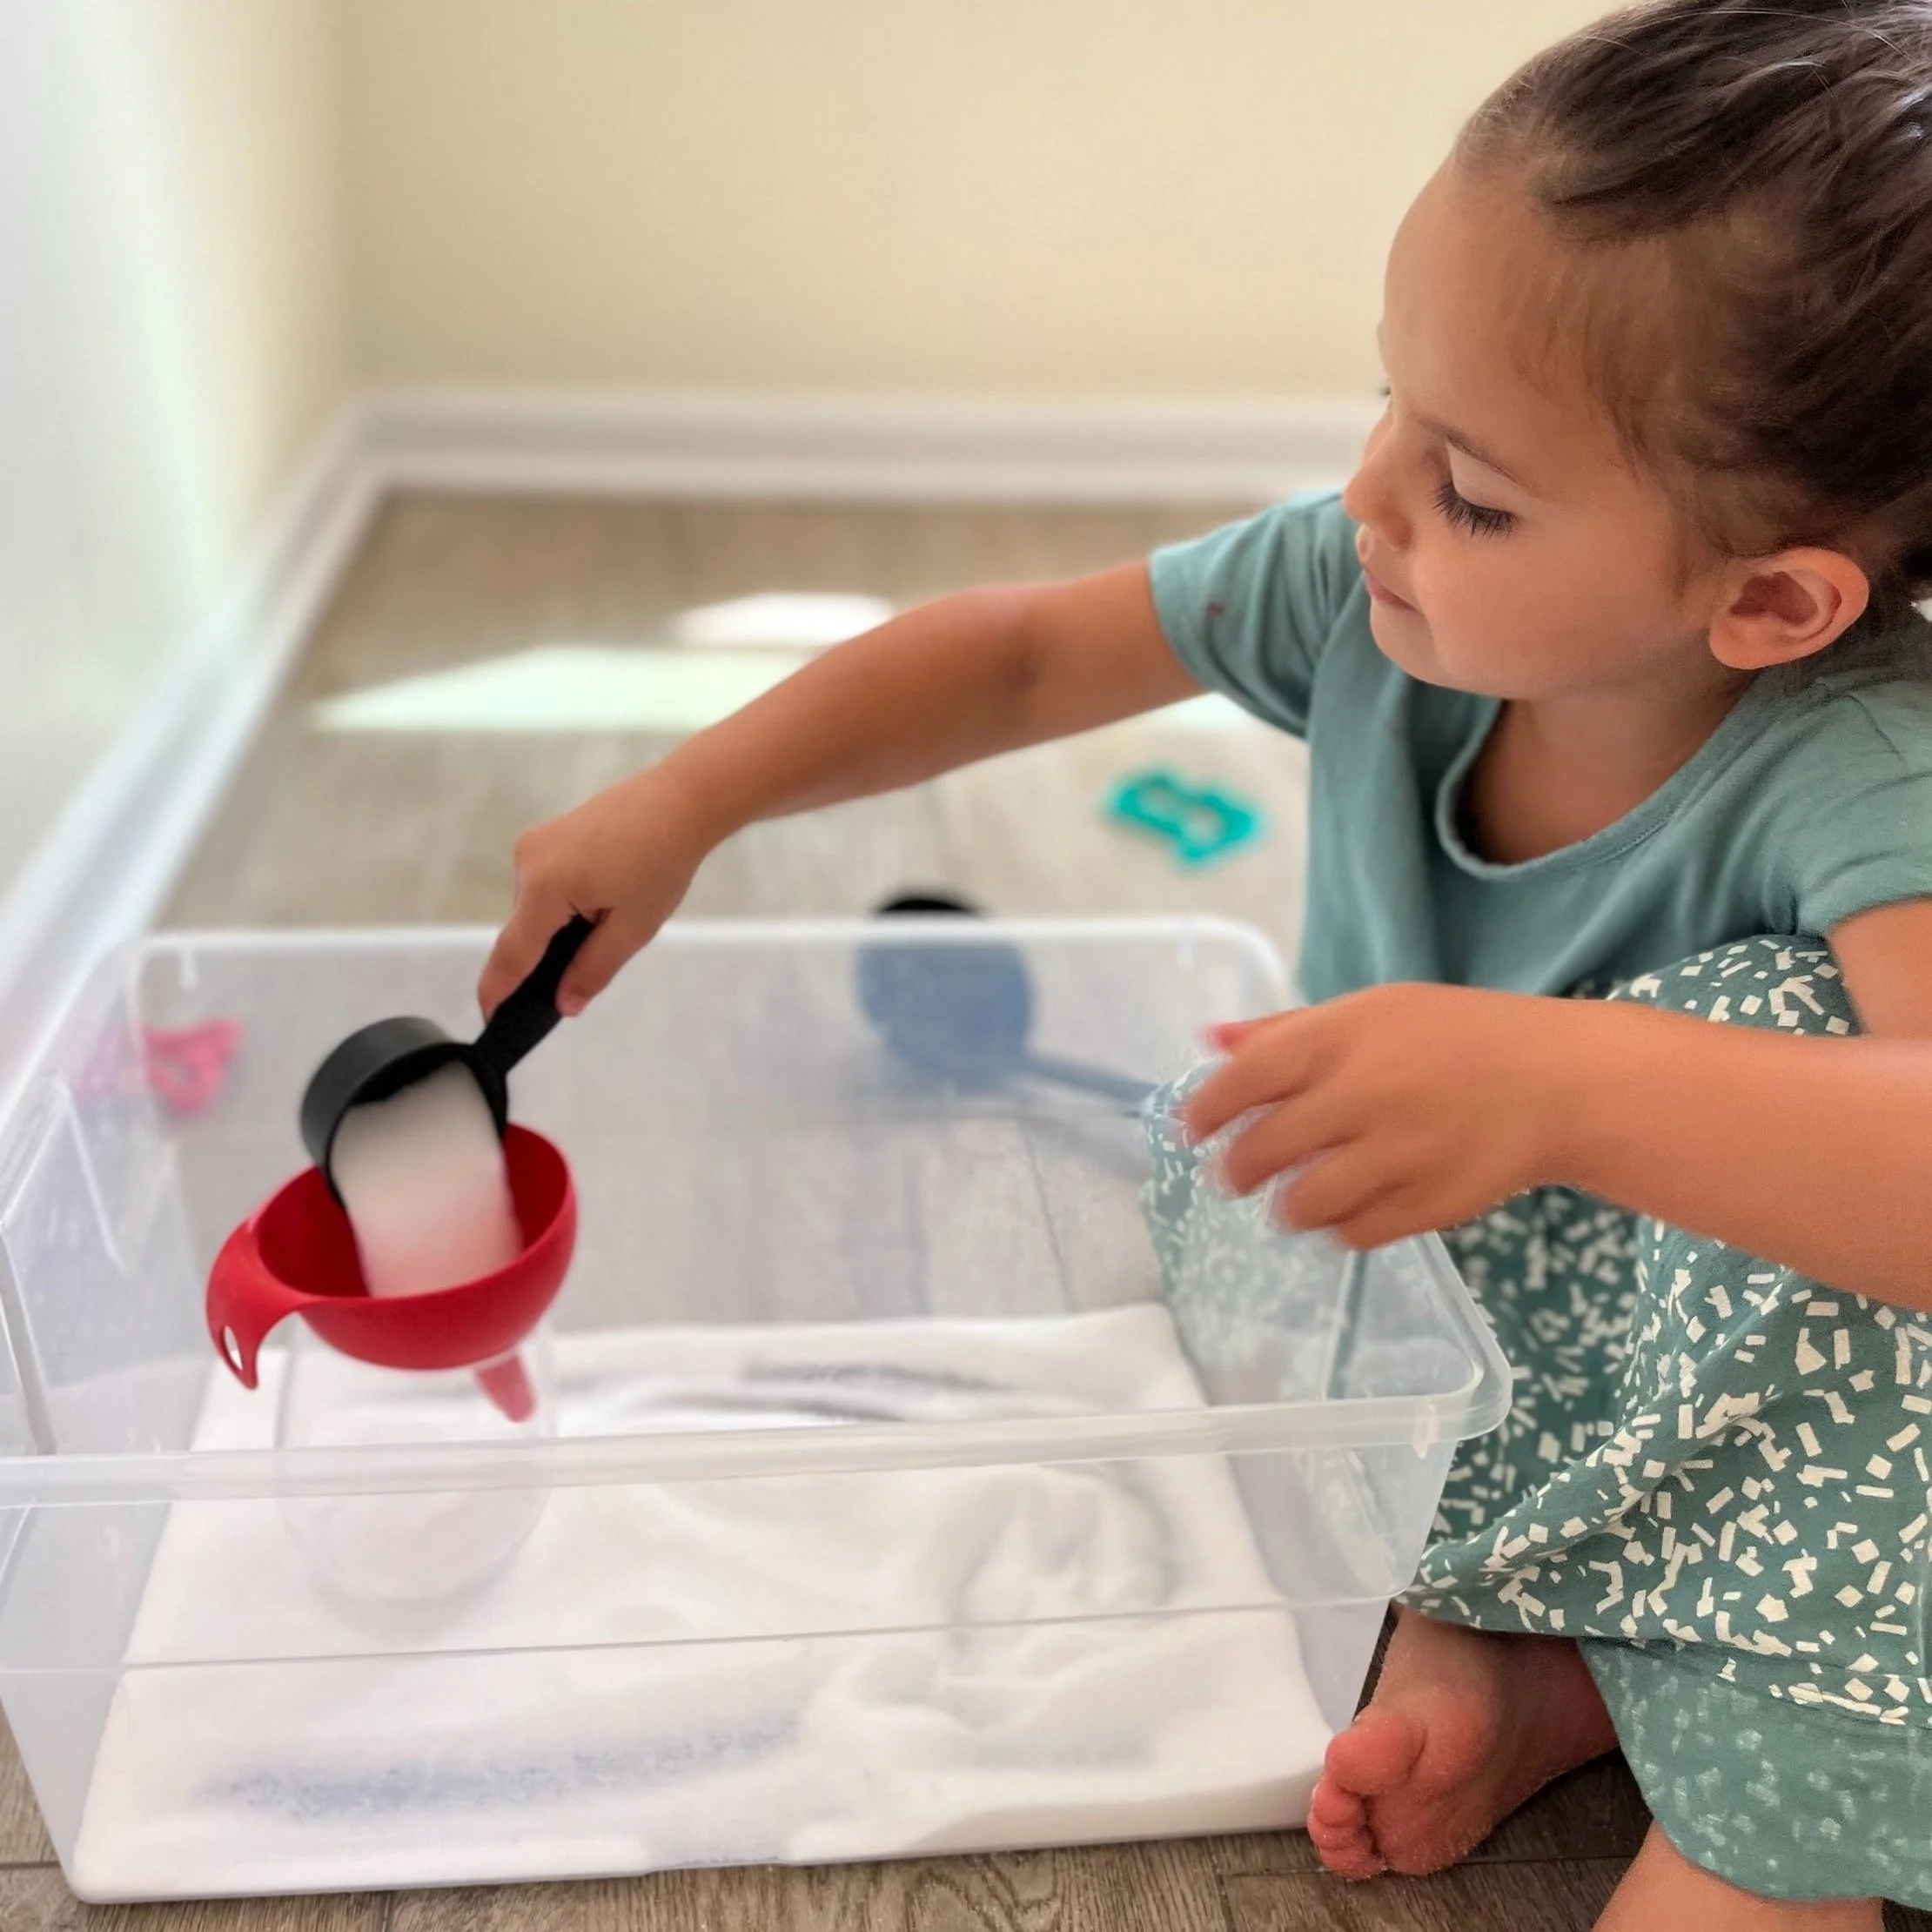
Kitchen utensils. We used some measuring spoons, a funnel, a ladle, and a clear cup.
Cookie cutters. I love this set because it includes all sorts of fun shapes, holiday related and not. I just toss them into the top rack of the dishwasher after use. I use these for baking and activities, so dual purpose here.

Set up
1 minute
Gather your scoops, cups, funnel, and cookie cutters.
Open the container of salt.
Clean up
5 minutes- Note: This only took a few extra minutes because we were inside and I did not put a sheet, towel, or blanket down. Learn from my mistakes please.
Dust the salt off of your child. A quick rinse in the sink solved the issue of residual salt for us.
Save salt in a resealable container or bag for future use.
Rinse out sensory bin in the sink.
Wash utensils or load in the dishwasher.
Vacuum if you did not follow my recommendations of being outside or putting down a towel to collect the stray salt. I have this Dyson vacuum and I ABSOLUTELY LOVE IT! I didn’t even know how much I needed a cordless vacuum in my life, but it has been amazing for the last 8 months. I vacuum way more now and the kids like to take turns cleaning the couch cushions or vacuuming every room.

I didn’t realize pouring the salt would be such a fun part of this very low effort set up, but then again kids love to dump things out. Vaila took her time and got every grain of salt out of the container. Her determination was admirable, but I eventually had to break the news that she had already dumped out all of the salt.
She was then a little unsure of how to play with this activity. Maybe that stemmed from the fact that we haven’t used salt as a material before or maybe because she didn’t have her older sister to watch, but her hesitation was interesting to me. I demonstrated some scooping into the funnel and drawing with my finger, but she quickly discovered she liked using the cookie cutters to make shapes in the salt.

She was mesmerized with the texture of the salt and loved that it maintained the cookie cutter shape. We haven’t used salt in a sensory bin before, so she is probably accustomed to water or dry sand not holding a shape. I love watching my children experience all the wonder the world has to offer, especially in something we find so mundane as adults.
She eventually figured out the funnel was very fun as well, but this is when the salt started escaping the sensory bin! If you only briefly skimmed the clean up part, please use a towel or go outside. This only took a few minutes to vacuum, so your day isn’t toast if you risk it, but I like to make things as easy as possible whenever I can.

The salt was fun to practice drawing and writing. Vaila likes to draw letters recently, so this was a good opportunity to practice letter shapes over and over again. Simply give the sensory bin a tiny shimmy and you have a fresh surface again.
The first time I reset the salt, she said “Ohhh! It’s snow!” which I found adorable. She had a hard time getting the salt situated after shaking because she didn’t understand how to redistribute it instead of letting it pile up in one corner. It took a few rounds of me demonstrating, but finally she was able to do it on her own. This is where I got to do a few minutes of cleaning and dinner prep.

I know it will take some adjusting for everyone in our family as we start the full day of school journey. We will find our rhythm and my days of being wanted and needed in this capacity are numbered. And it’s ok to sometimes want to not have to tend to someone every waking second. My goal with this activity was to spend some quality time with Vaila to fill her bucket and then allow myself some space to do what I needed. Check and check!
If you are looking for an easy to put together, taste safe, and low-cost sensory bin, you have found it! Pick up a container of salt the next time you get groceries and come back to this post when you need a reminder of this super easy set up. But seriously, don’t forget the towel!

You may also like…


Here is a list of books perfect for gifting or reading for Valentine’s Day or any day of there year your child might need a reminder of how much you love them!
I just added 4 of these to my cart!